I first became aware of tilt lenses when I stumbled across the site for a company called Lensbaby. They have a whole bunch of specialty lenses, but they got their start making an inexpensive lens that you could tilt as you composed your shot.
Why in God’s Green Acres would anyone want to do that? Well, normally, one keeps the plane of the lens exactly parallel to the plane of the sensor, and out in front, everything at a particular distance is in focus. You can think of the volume of space that’s in focus as a rectangular solid with one face parallel to the sensor.
When you tilt the lens, the rules change. The volume of space that’s in focus tilts too (there’s a rough formula, but the math’s not important here). To illustrate, let’s take a look at figure 1. In this diagram, the lens and the sensor are parallel, and the zone in front of the lens that is in focus is parallel to them as well. The girl and the tree are in focus, but the dog is not.
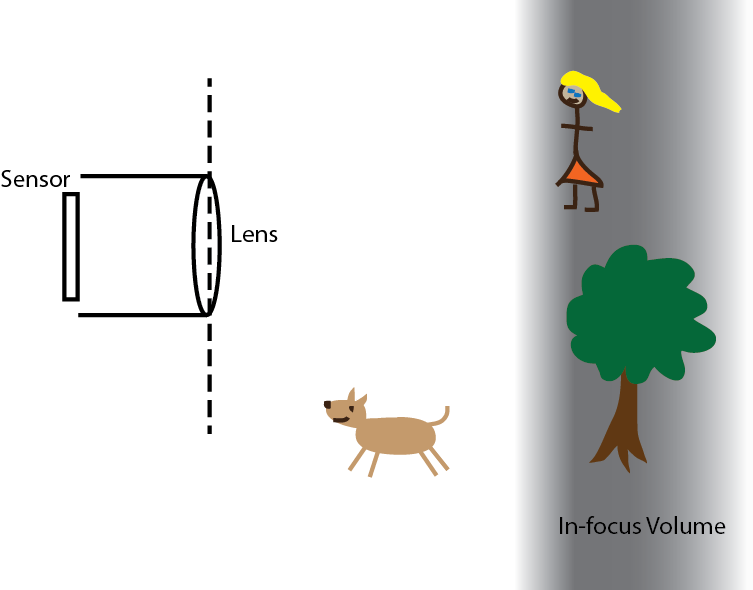
Figure 1: diagram of a photo shoot in a park. The girl and the tree are in focus.
Of course, dogs and girls are much more interesting than trees. How can we get them in focus, and get the tree out of focus so the shot doesn’t seem as cluttered? One way is to tilt the lens.

Figure 2: The same setup, but with a tilted lens.
Lensbaby’s products cost substantially less than high-end lens systems, in part because they’re optically pretty low-grade. Still, a few hundred bucks for a set of flawed lenses (even if the flaws are embraced – more on that later), seems a little steep. After poking around a bit, I found sites for people who made their own tilt/shift lenses for just a few bucks. (There are plenty of other links where that one came from.) I decided to try my hand.
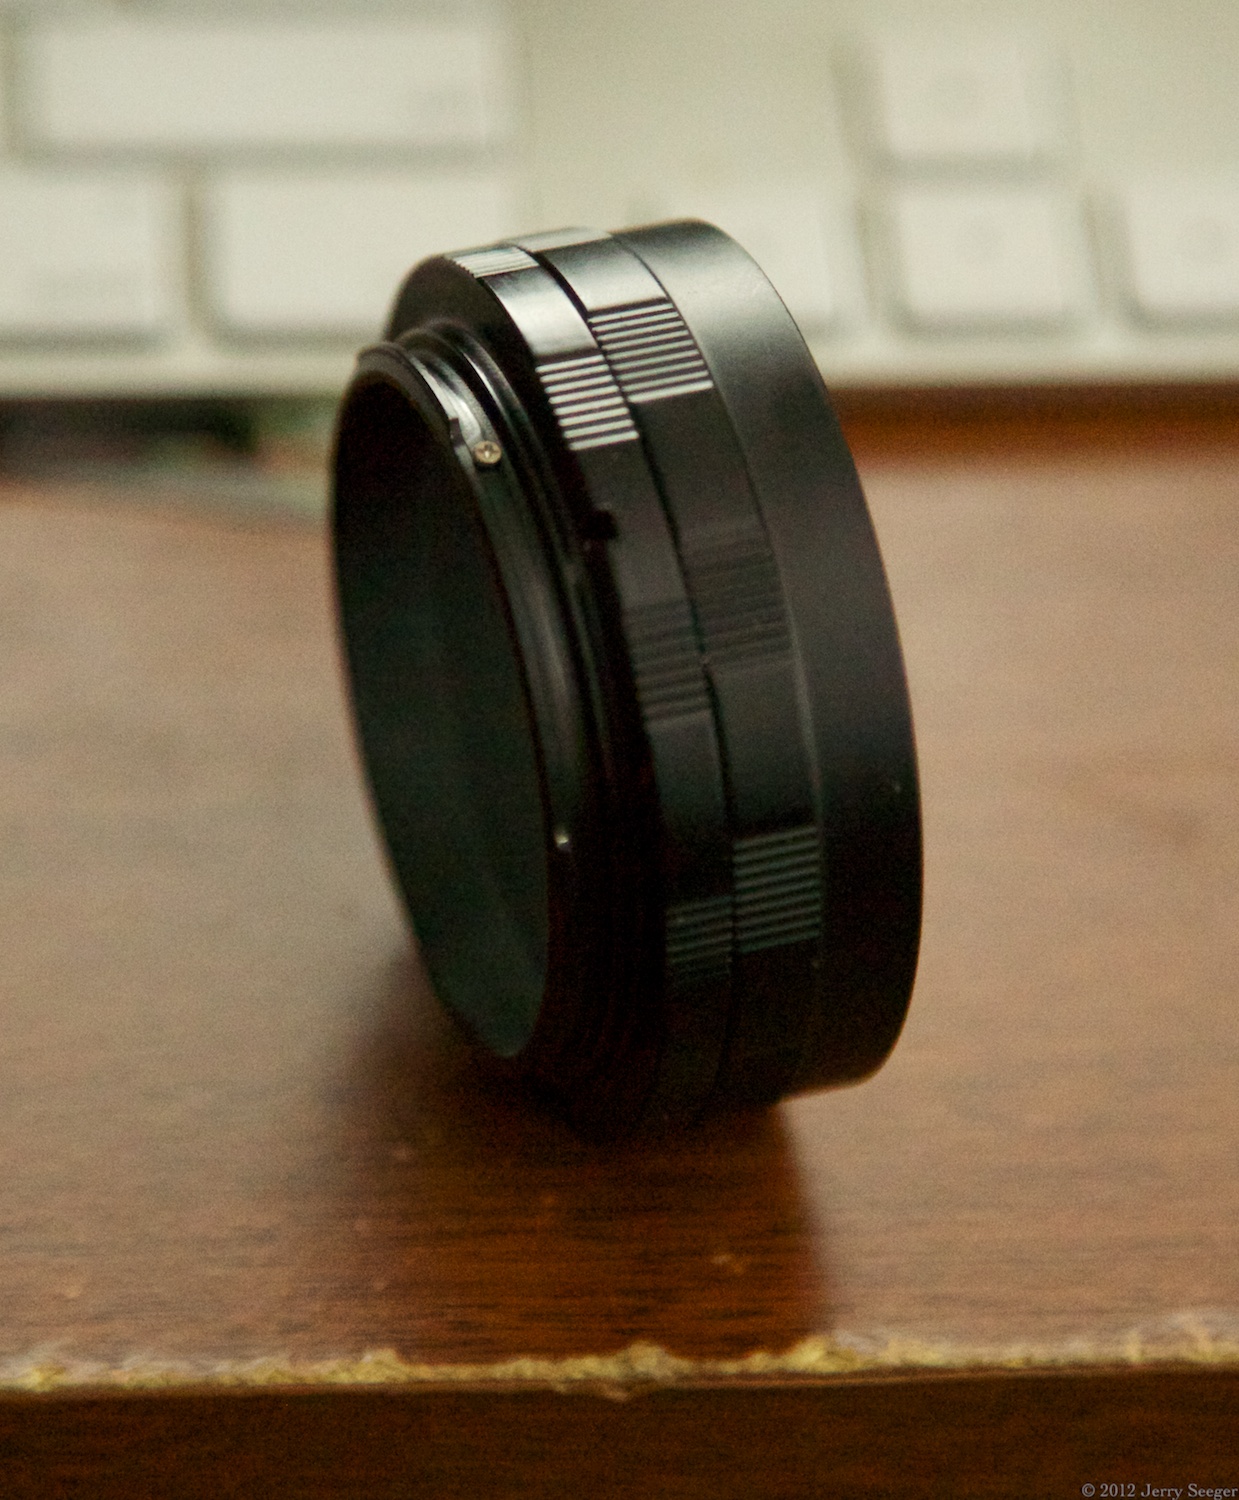
Medium-length section of macro extender tube set
Next came the hunt for an appropriate lens. Many of the people who build these buy old, crappy lenses for SLR’s and partially disassemble them to allow clearance between the bellows and the camera body. Others use medium-format lenses, which generally are designed to be mounted farther from the film. Despite reports that these could be found on the cheap, I was not successful in my search. Eventually I stumbled on a Federal Anastigmat lens for $20 and decided that was an acceptable amount to risk.
I got really lucky.
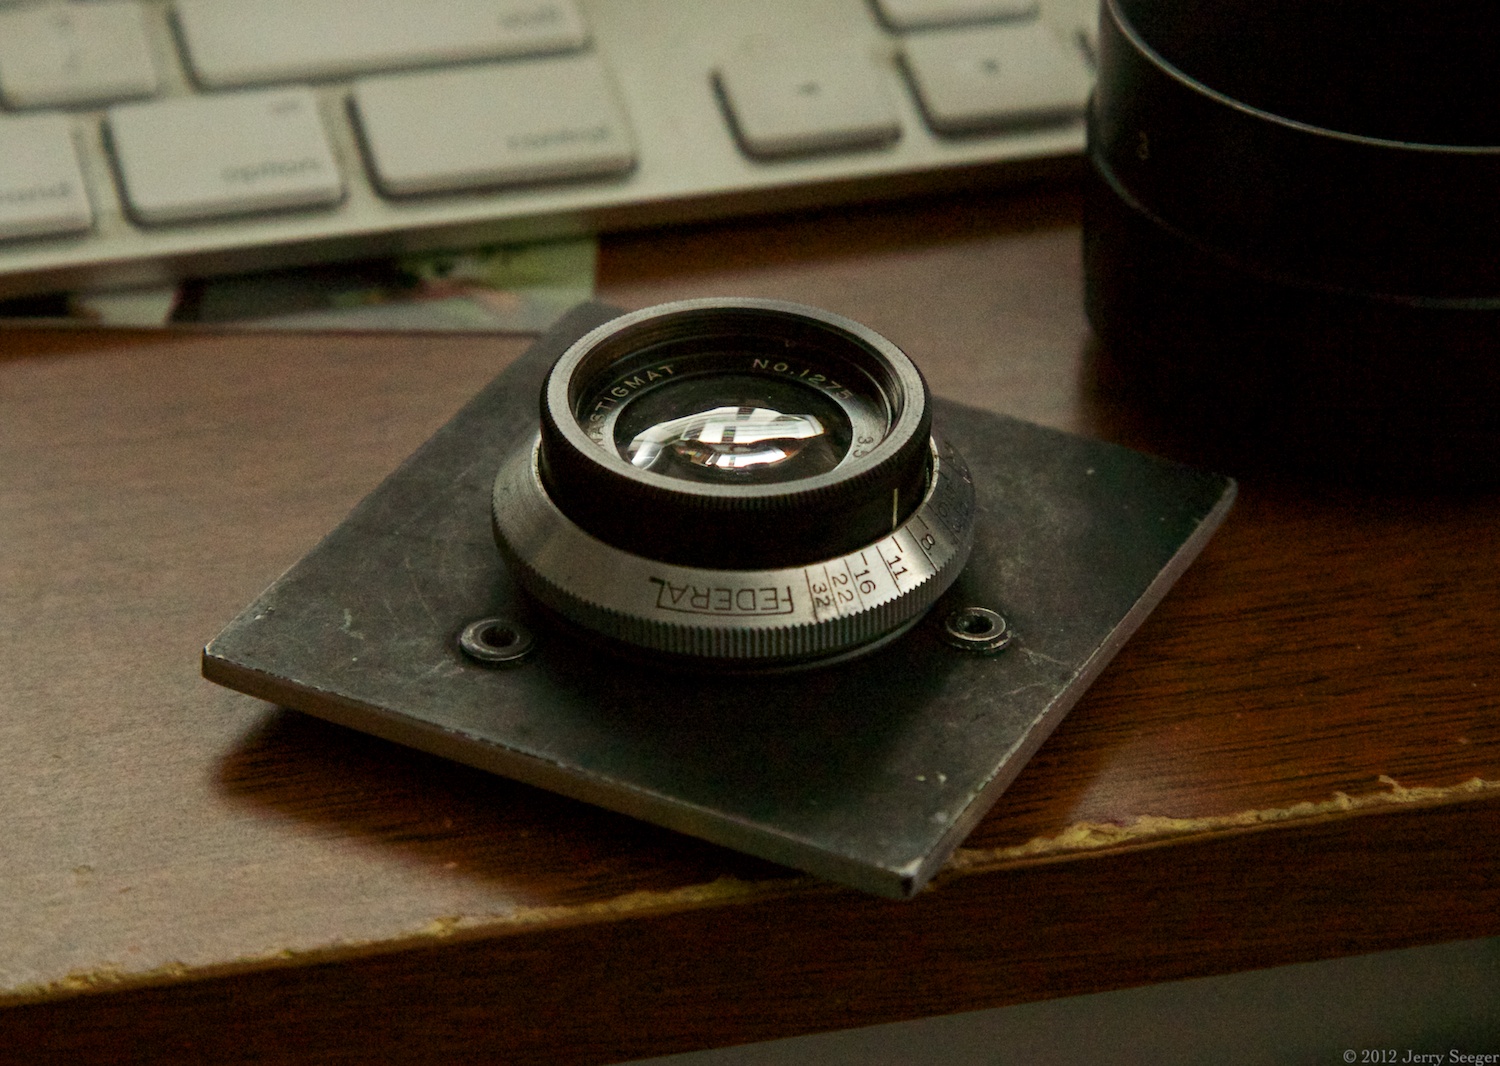
The big investment – the lens.
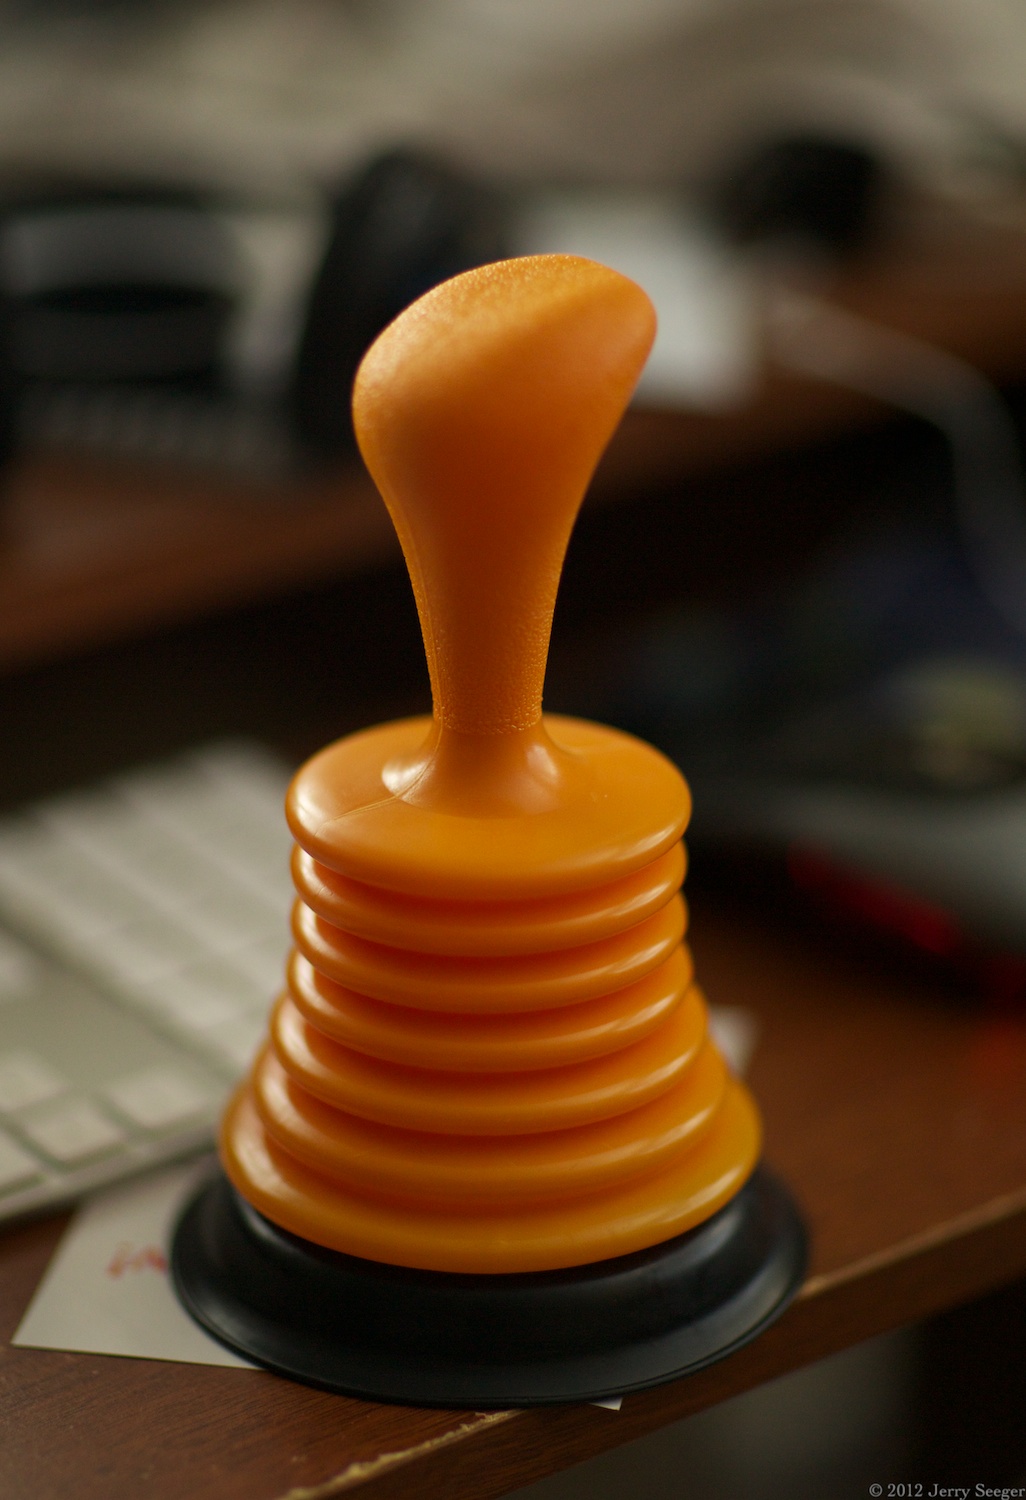
Mini-plunger with bellows construction.
The lens sat on my desk for a few weeks, but recently I decided it was time to get this puppy made. I went down to Home Depot and after a period of wandering found the plunger section. I wanted one that had a bellows style of construction, rather than the typical rubber dome. Happily I hit pay dirt (with a caveat).
I brought the plunger home and after considerable time pondering how best to attach all the pieces together, decided to stop thinking so much and just see what I could come up with. It was time for action!
I started by trimming off the part of the plunger bellows that was clearly too wide.
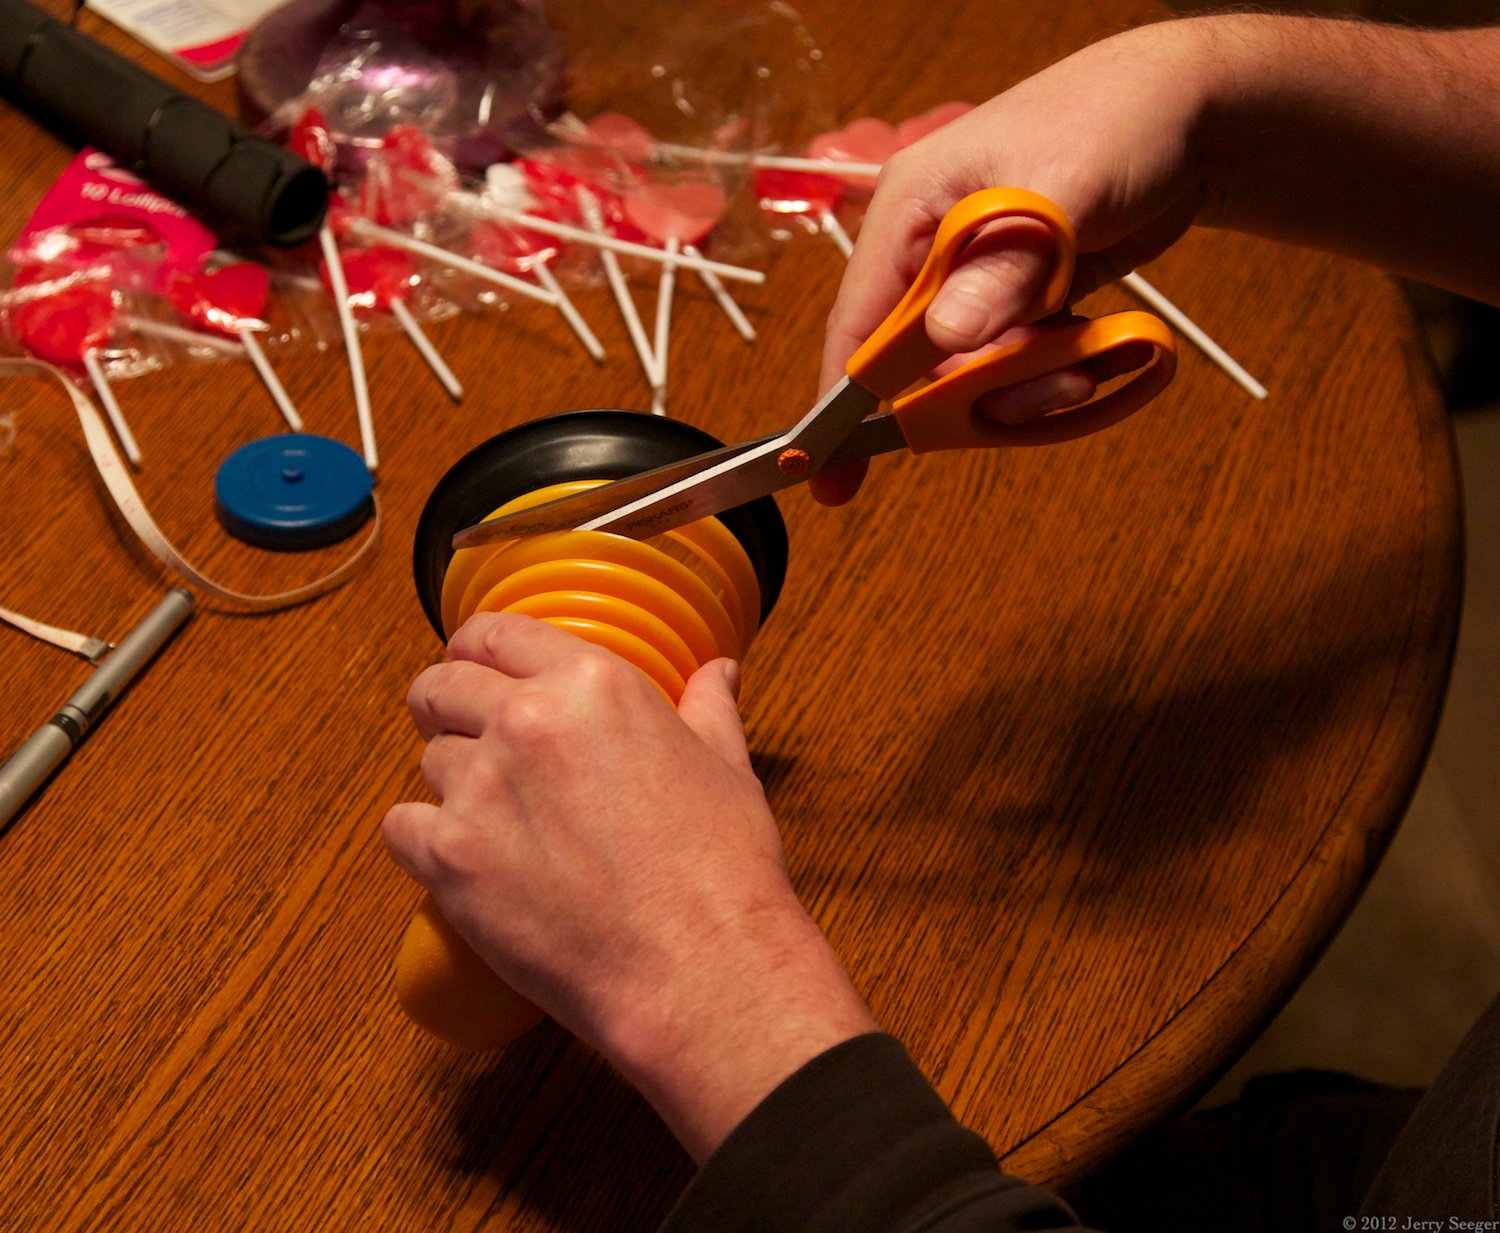
Trimming the plunger
It turns out that that particular extender tube and that particular plunger fit together perfectly, though it took me quite a bit of fussing before I discovered the proper technique for mating the two. After futzing with screwdrivers and pliers (whose scars you can see in the final photos), I just put my weight into it and mashed the thing home.
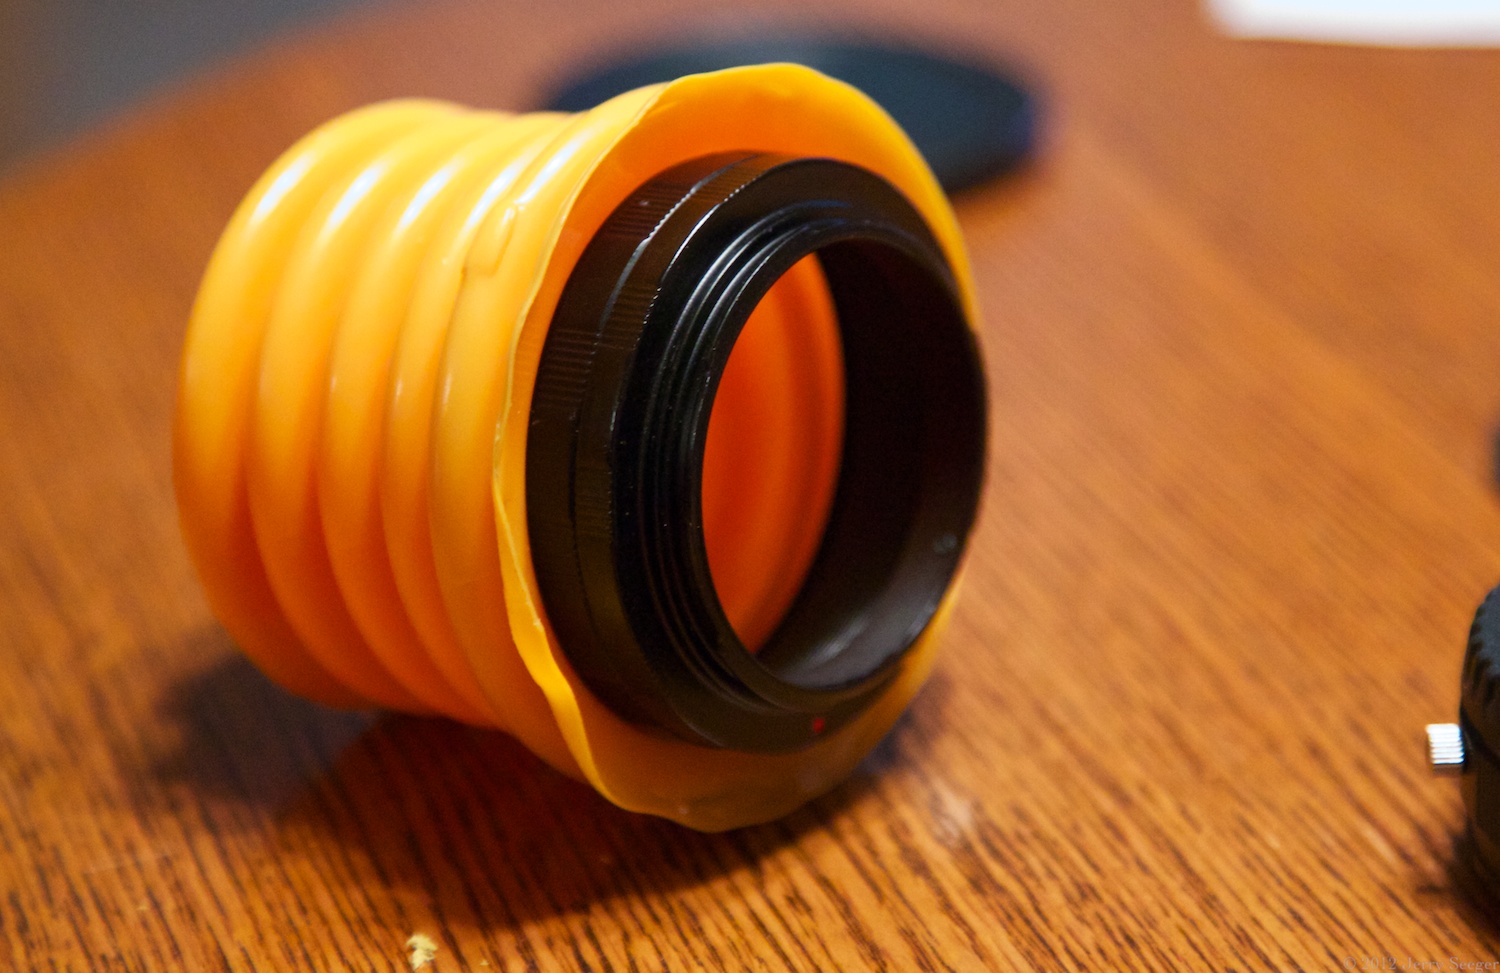
The macro tube and the bellows mated.
You can see how much light comes through the plastic.
To attach the lens to the bellows I used a roto-tool and gradually enlarged a hole in the handle end of the plunger until the threads of the lens could bite and I just screwed the thing straight onto the plastic. It’s a lot more secure than I expected it to be.

The finished product!
And… that was all there was to it. But, alas, there is a problem. A lot of light gets through the plastic. The first pictures I took had low contrast and a decidedly orange cast to them.
Wrapping something dark around the bellows helped immensely. Here I am taking a tilt-shot with my neoprene knee brace pulled over the lens. Some orange still leaks in through the front plastic, but contrast was improved dramatically.
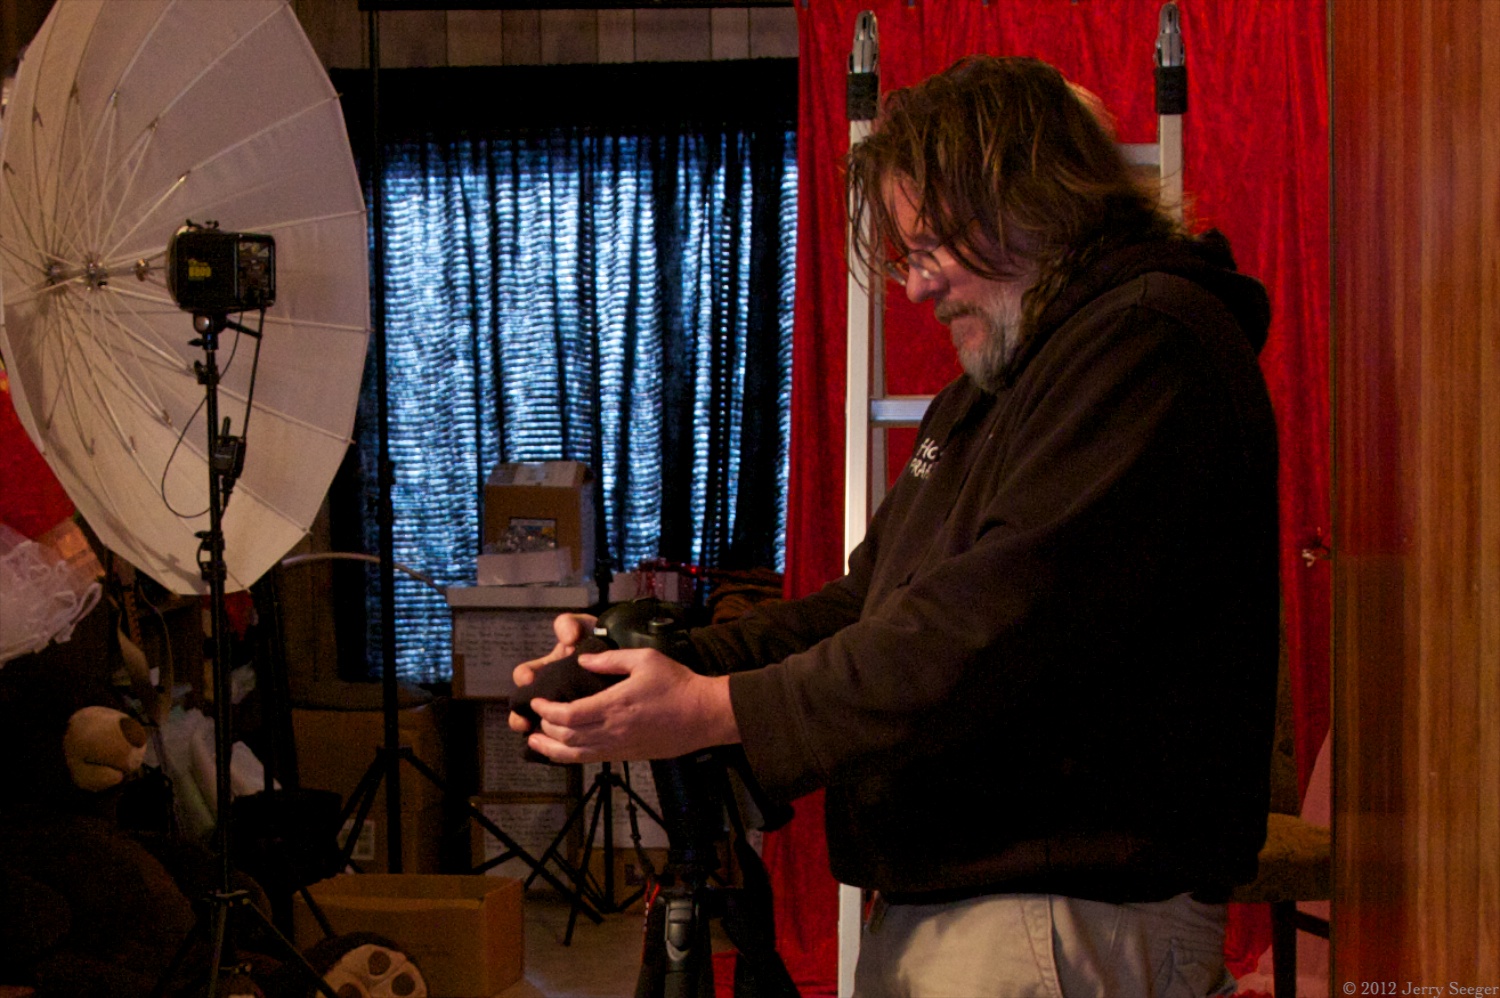
Taking a tilt-lens shot
Once color-adjusted, the results are pretty interesting. In the following photo you can trace the volume of focus from the lower-left right back to the napkin holder in the upper right. One side of the glue bottle is in focus, while the other isn’t.
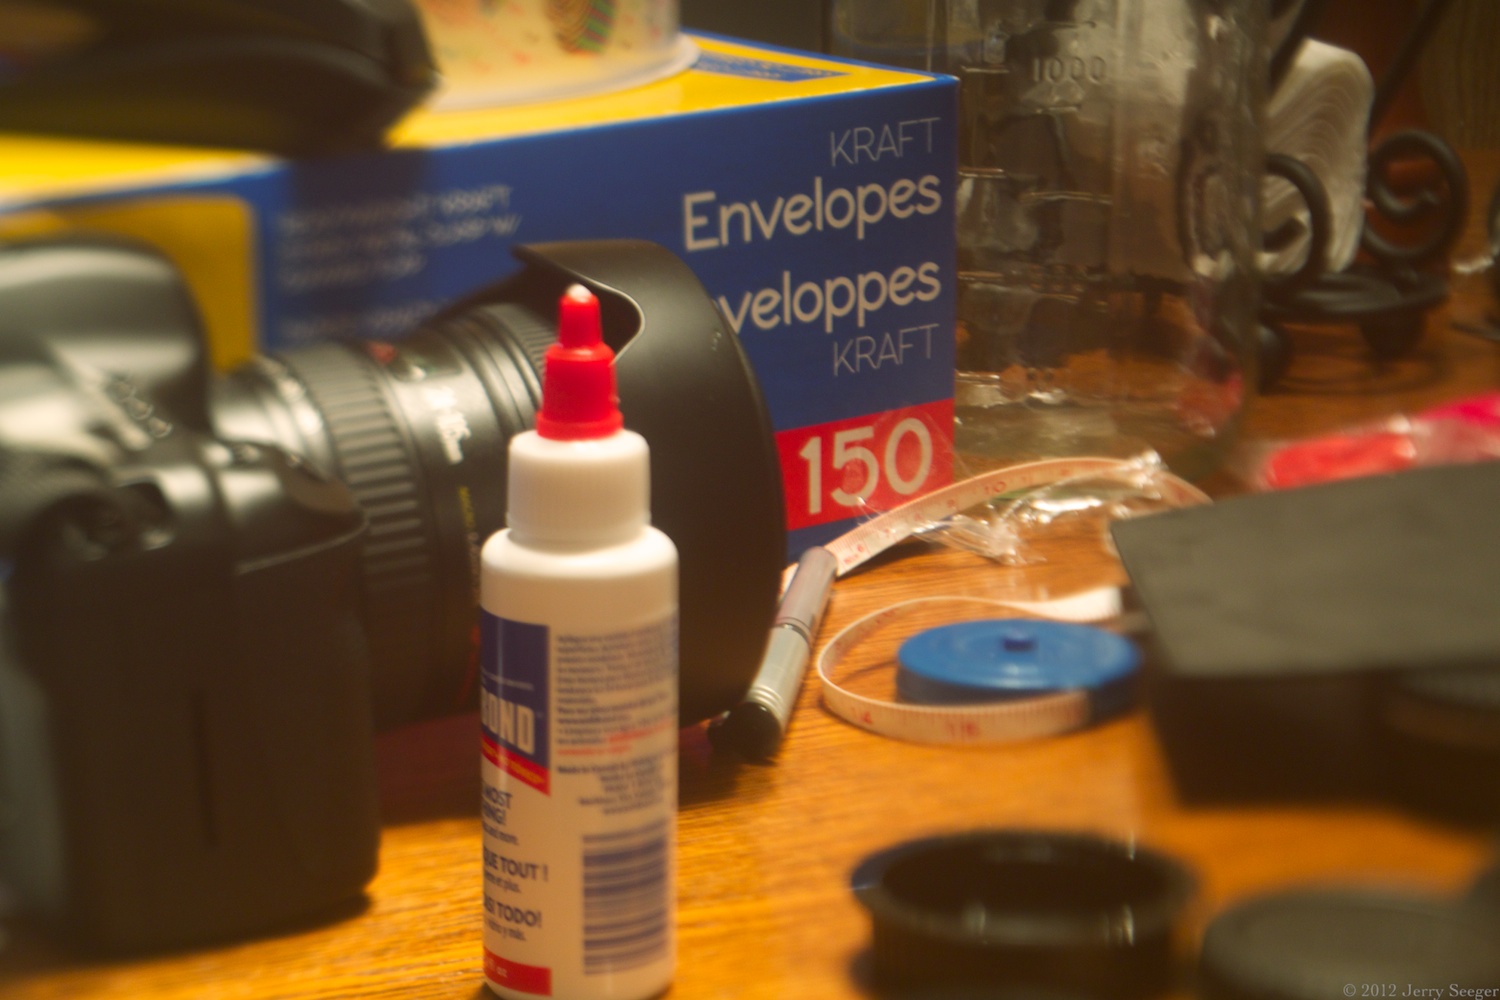
Tilt-lens photo with skewed focal plane
To be honest, I’m not sure exactly what I’m going to do with this thing now that I have it, but the first step is to take a whole ton of practice photos, so when the time is right I’ll be ready.
The biggest disadvantage to this setup is that it takes three hands to take a picture, and since you’re holding the lens steady with your fingers, fast shutter speeds are advised. Some of the lenses in the article I linked to lock down the lens at the desired angle, which would be handy. Lensbaby’s design is structurally pretty similar to mine; they have a version with screws that hold the lens in position.
Another thing about the “anastigmat” lens I used and the offerings of Lensbaby: My little lens is optically quite a bit better than Lensbaby offerings, for better or worse. Anastigmat was a name many lens manufacturers applied when they came up with ways to reduce the spherical aberration and astigmatism of early lenses. Lensbaby, on the other hand, embraces spherical aberration with gusto. This causes the focal zone in the illustrations above to be curved and the edges to be distorted, which can also be fun, and can really pin interest on your subject. The rear elements of my Federal lens can be removed, which I think will give me some pretty major spherical aberration as well. We’ll see. Lensbaby also has a variety of other ways to introduce distortion into photographs, but I’m not going to start experimenting with that until I get the tilting business well under control.
“Anastigmat” is also your key to finding the right glass if you want to follow in my footsteps. Just type that into eBay’s search and you will find a host of old lenses, some quite cheap. (At this writing there’s a nice-looking Rival for $22 and a sort-of-slow Federal for $10.) Choose a focal length in the 90mm range and away you go! (You can use longer macro tubes if you get a longer focal length. $6 gets you a set of three different lengths that can be screwed together.) Some lenses look like they’re only the front element (just one piece of glass); you should stay away from those.
Total cost: $30. When I got down to doing it, it was pretty easy. If you like to tinker, this would make a great Saturday project that could pay dividends with interesting photos for a long time to come. Give it a try!

Well it is cheaper than a TS-E, damn I always wanted one of these:
http://www.usa.canon.com/cusa/professional/products/lenses/ef_lens_lineup/lens_tilt_pro/ts_e_17mm_f_4l
Yeah, but unless you’re a professional architecture photographer, it’s hard to justify springing 2500 bucks for that puppy. While theoretically my humble bellows could be used for shift photography, I haven’t managed it yet. It’s just not flexy enough that way.
Very cool!