1. Buy a camera
2. Take pictures
3. Delete 95% of the pictures you take.
The top photogs delete 98%. Maybe 99. That’s how good they are.
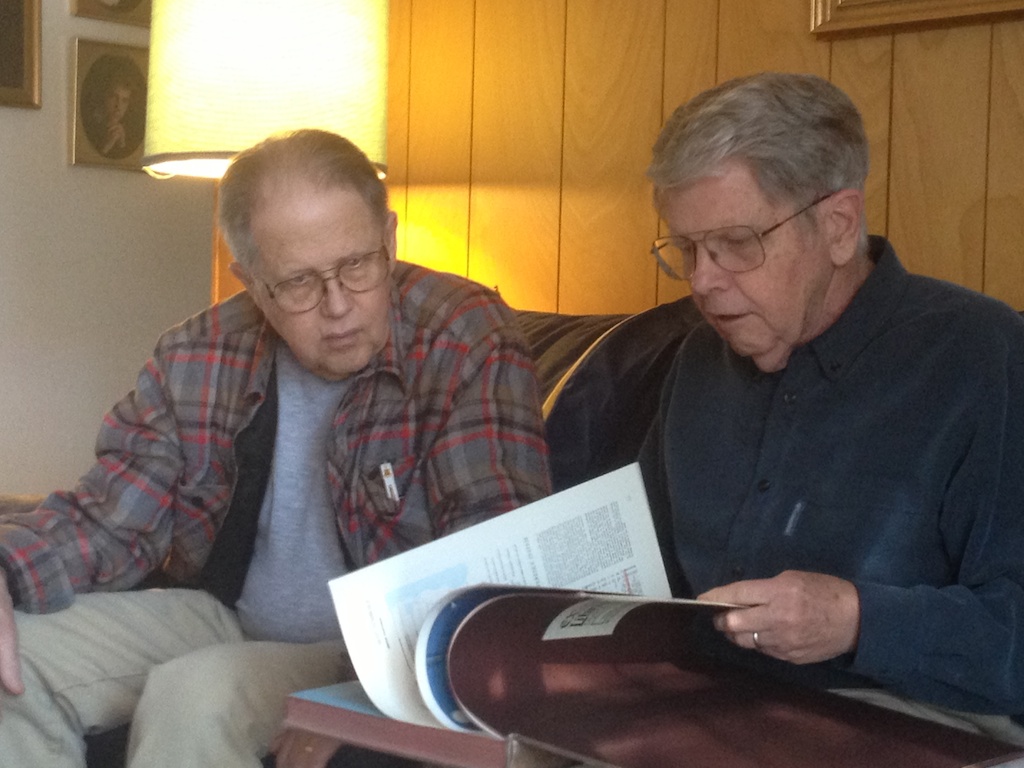
There’s a big ho-down comin’ at work, and my boss was asked to come up with a list of pending accomplishments for her team, accompanied by pictures. So, I needed a picture of me writing, to accompany the announcement that I will soon be finishing Munchies, my long-anticipated novel. Anticipated by me, anyway.
Now, all that was required was a simple picture of me at the computer. But in my head this portrait quickly grew to include dramatic lighting that somehow gave a Munchies-like feel to the picture. That meant color gels, splashes on the walls, and dramatic light on the face, preferably from the glow of the screen.
It was also fun being the talent for once, while my sweetie gave direction from behind the camera.
In the end three of the lighting setups were moderately successful; I have picked out representatives from each of those to show below. The pictures are unaltered except for some cropping; color and exposure are straight off the camera.
For all these setups there’s a tight-beam green-gelled strobe is directly behind my head. In the first two another strobe is splashing light against the wall behind me. I’m thinking it would have been cool to make it a strong primary color, just so see how it looked, but I didn’t do that.
The second and third pictures have only the computer’s LCD screen lighting my face. This required very long shutter times to capture enough light. (The light from the strobes is a fixed quantity no matter how long the shutter is open, so you use exposure time to adjust the mix between flash and ambient light.) Quite a few almost-awesome shots were lost because I wasn’t holding still enough.
Anyway, here are some samples from the shoot. As always, you can click to biggerize them. All the shots were taken with my 85mm lens at very wide apertures to keep exposure times from getting totally ridiculous.

Two strobes and overhead halogens

Two strobes and screen light

One strobe and screen light
Not appearing in this list are shots where the green light was behind to my left, where it shone on my face a bit. An interesting effect, but it didn’t really work out this time.
It is spring here in my little slice of heaven, and recently I’ve pointed my camera at flowers and stuff. Here is a shot or three of the results. There are things I’d like to change in each, but it’s a lazy Saturday and putting up pictures on a blog is easier than many of the other things I’m supposed to be getting done. For whatever reason, these look a lot better when you click on them to biggerize.

I forget what this flower is called, but it’s nice.
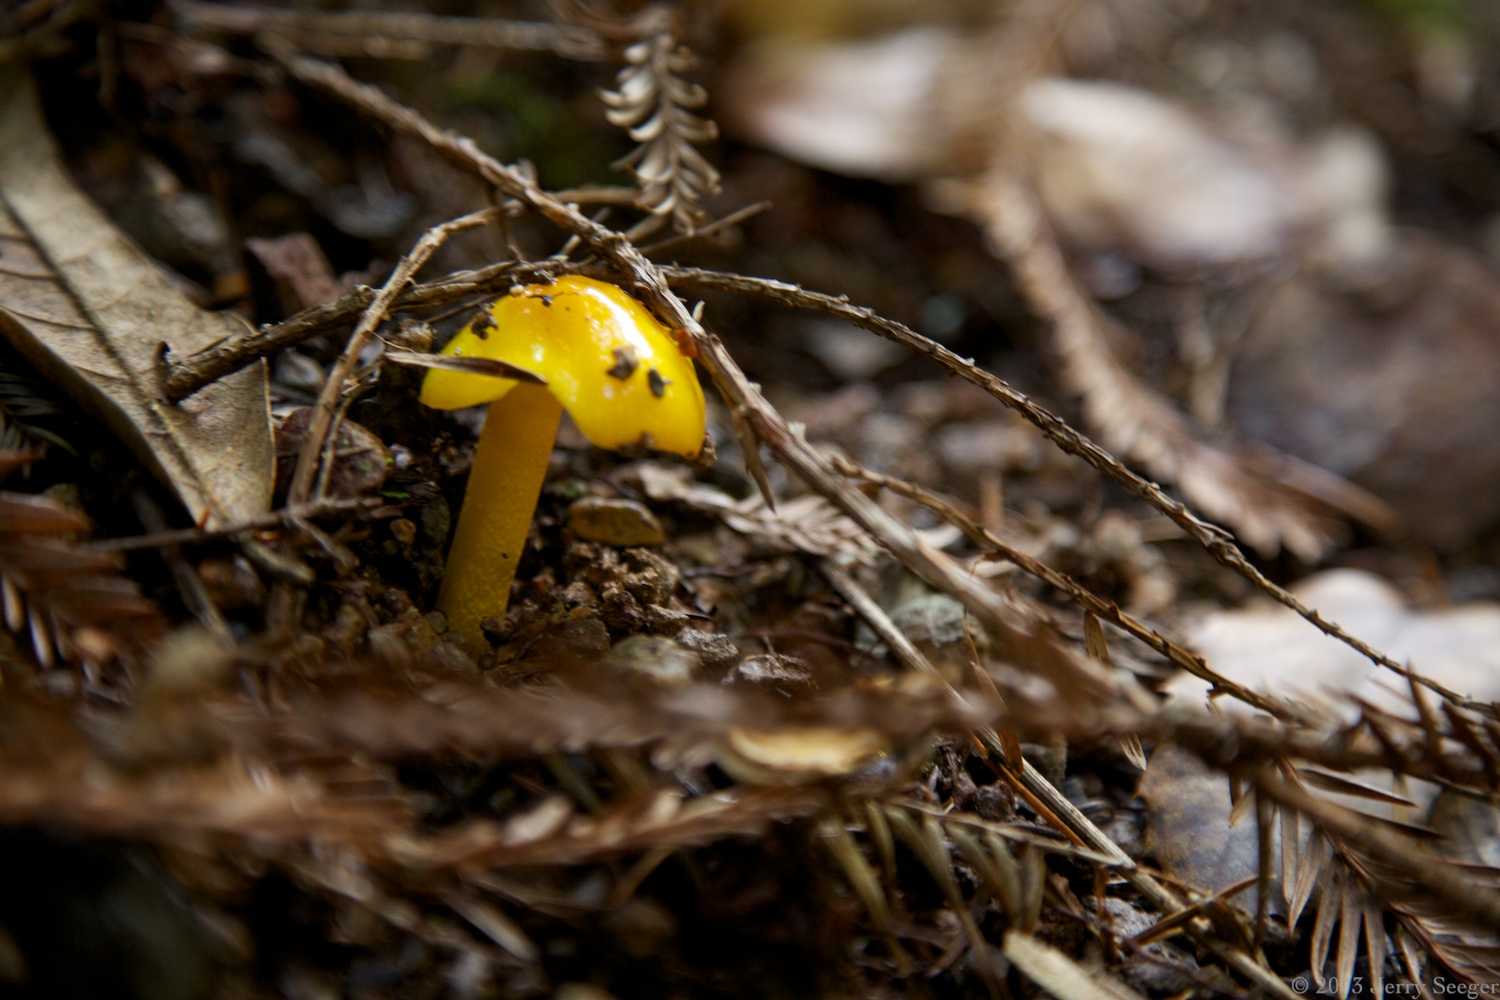
Apparently these are very bad to eat.

Not sure the tree, either.
I first became aware of tilt lenses when I stumbled across the site for a company called Lensbaby. They have a whole bunch of specialty lenses, but they got their start making an inexpensive lens that you could tilt as you composed your shot.
Why in God’s Green Acres would anyone want to do that? Well, normally, one keeps the plane of the lens exactly parallel to the plane of the sensor, and out in front, everything at a particular distance is in focus. You can think of the volume of space that’s in focus as a rectangular solid with one face parallel to the sensor.
When you tilt the lens, the rules change. The volume of space that’s in focus tilts too (there’s a rough formula, but the math’s not important here). To illustrate, let’s take a look at figure 1. In this diagram, the lens and the sensor are parallel, and the zone in front of the lens that is in focus is parallel to them as well. The girl and the tree are in focus, but the dog is not.
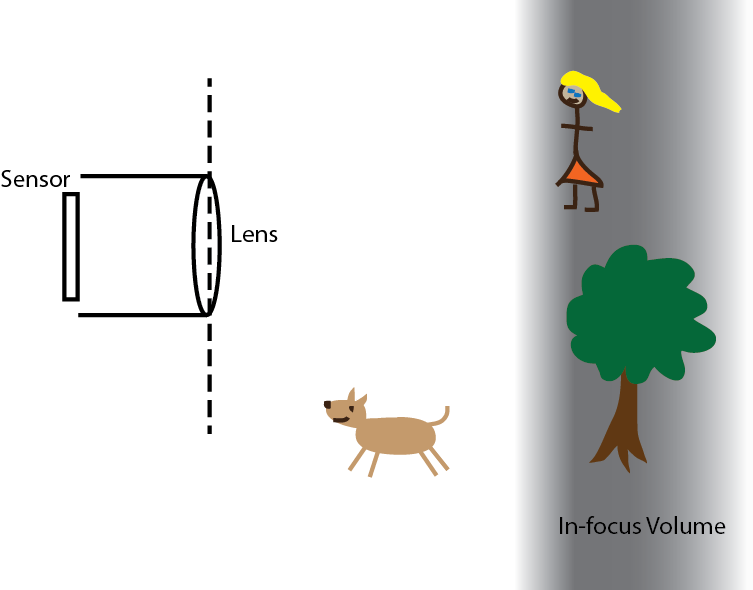
Figure 1: diagram of a photo shoot in a park. The girl and the tree are in focus.
Of course, dogs and girls are much more interesting than trees. How can we get them in focus, and get the tree out of focus so the shot doesn’t seem as cluttered? One way is to tilt the lens.

Figure 2: The same setup, but with a tilted lens.
Lensbaby’s products cost substantially less than high-end lens systems, in part because they’re optically pretty low-grade. Still, a few hundred bucks for a set of flawed lenses (even if the flaws are embraced – more on that later), seems a little steep. After poking around a bit, I found sites for people who made their own tilt/shift lenses for just a few bucks. (There are plenty of other links where that one came from.) I decided to try my hand.
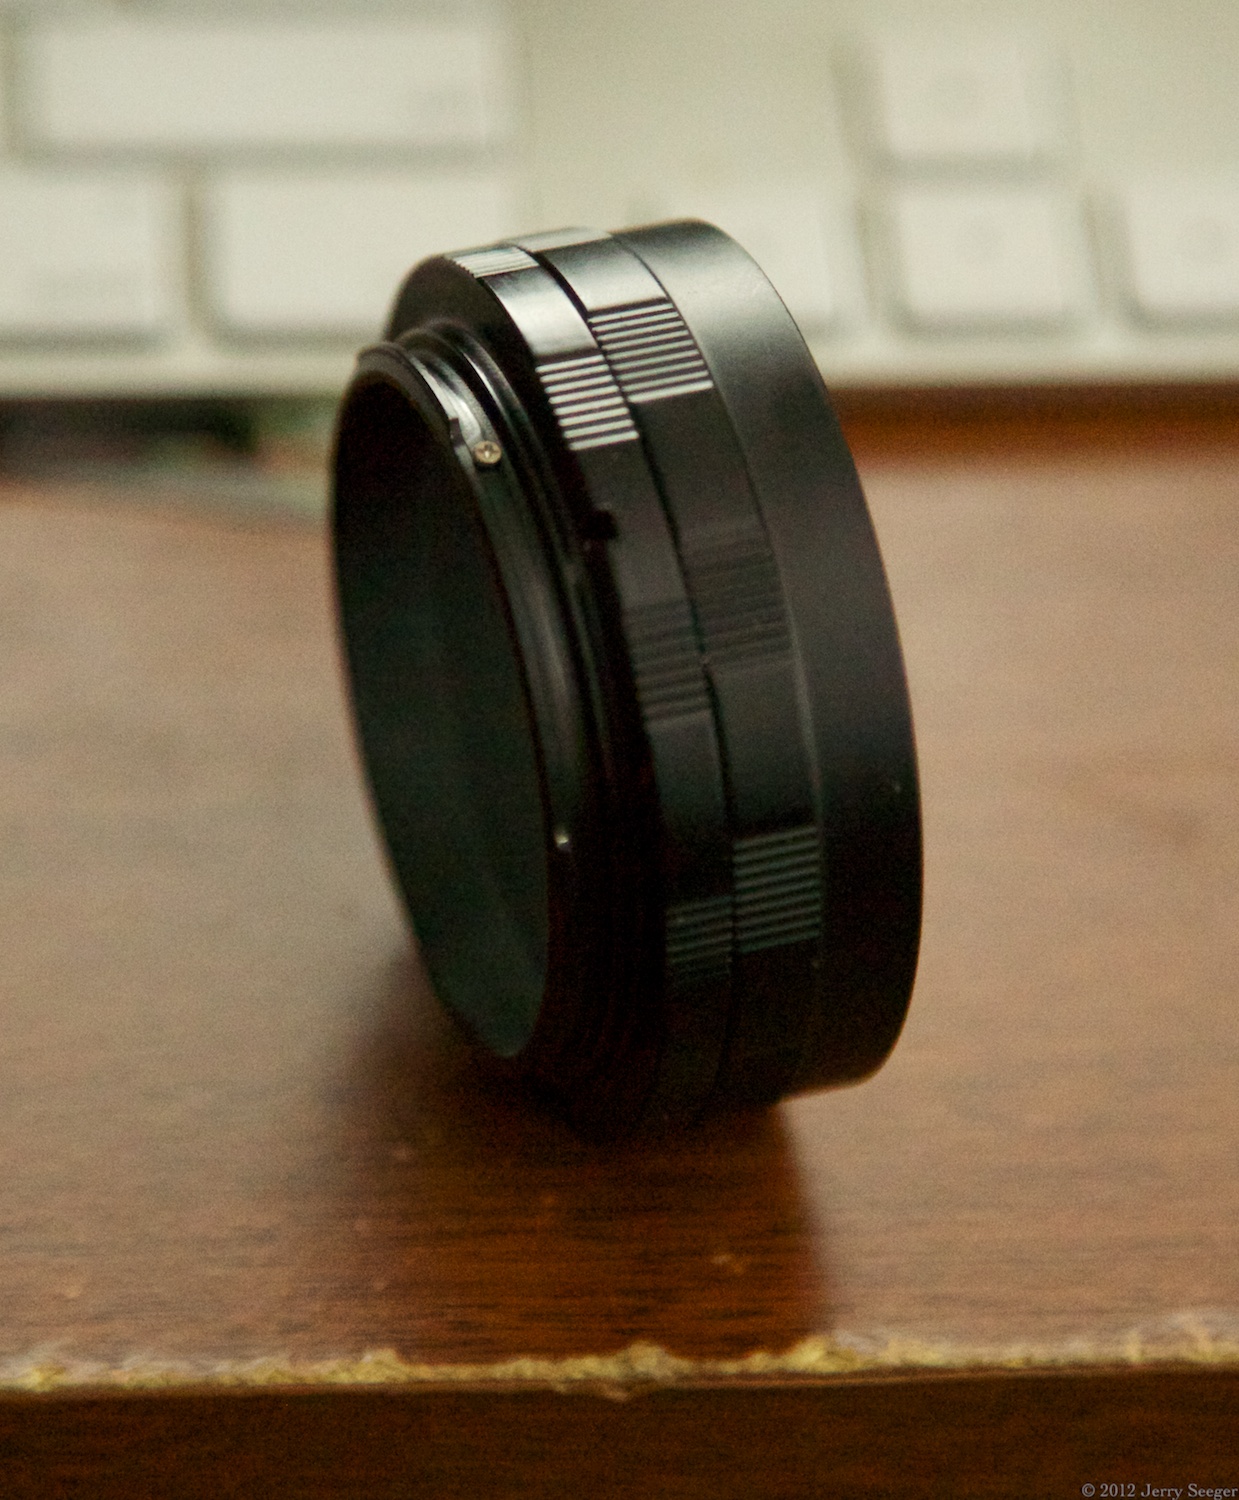
Medium-length section of macro extender tube set
Next came the hunt for an appropriate lens. Many of the people who build these buy old, crappy lenses for SLR’s and partially disassemble them to allow clearance between the bellows and the camera body. Others use medium-format lenses, which generally are designed to be mounted farther from the film. Despite reports that these could be found on the cheap, I was not successful in my search. Eventually I stumbled on a Federal Anastigmat lens for $20 and decided that was an acceptable amount to risk.
I got really lucky.
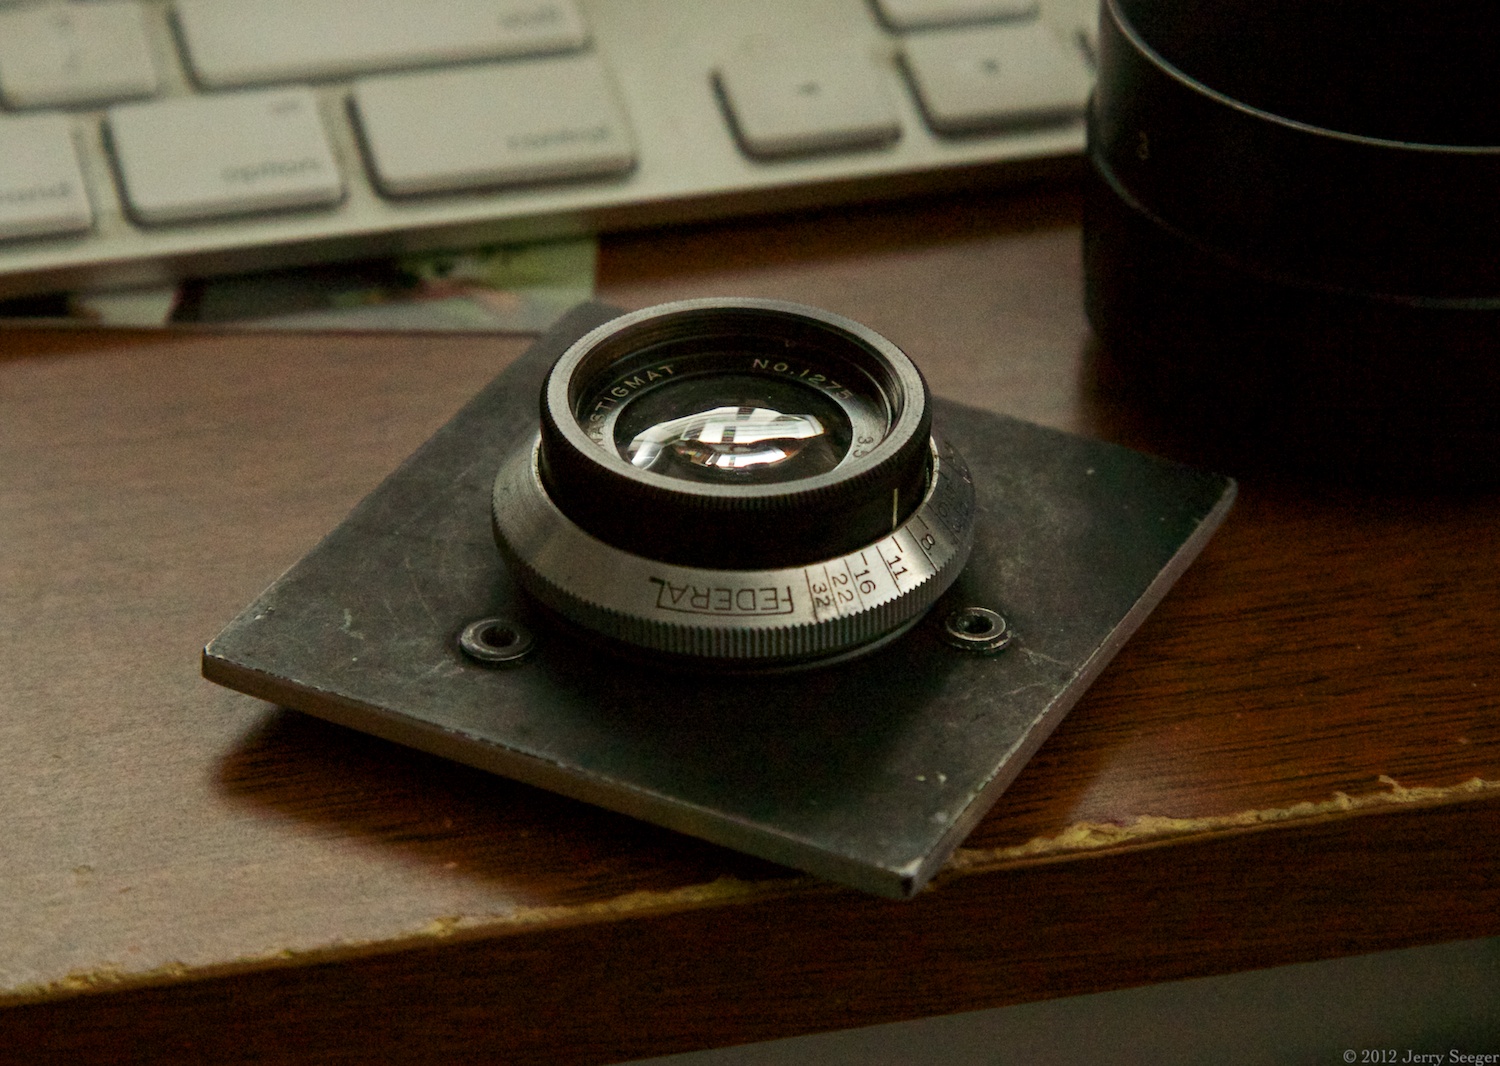
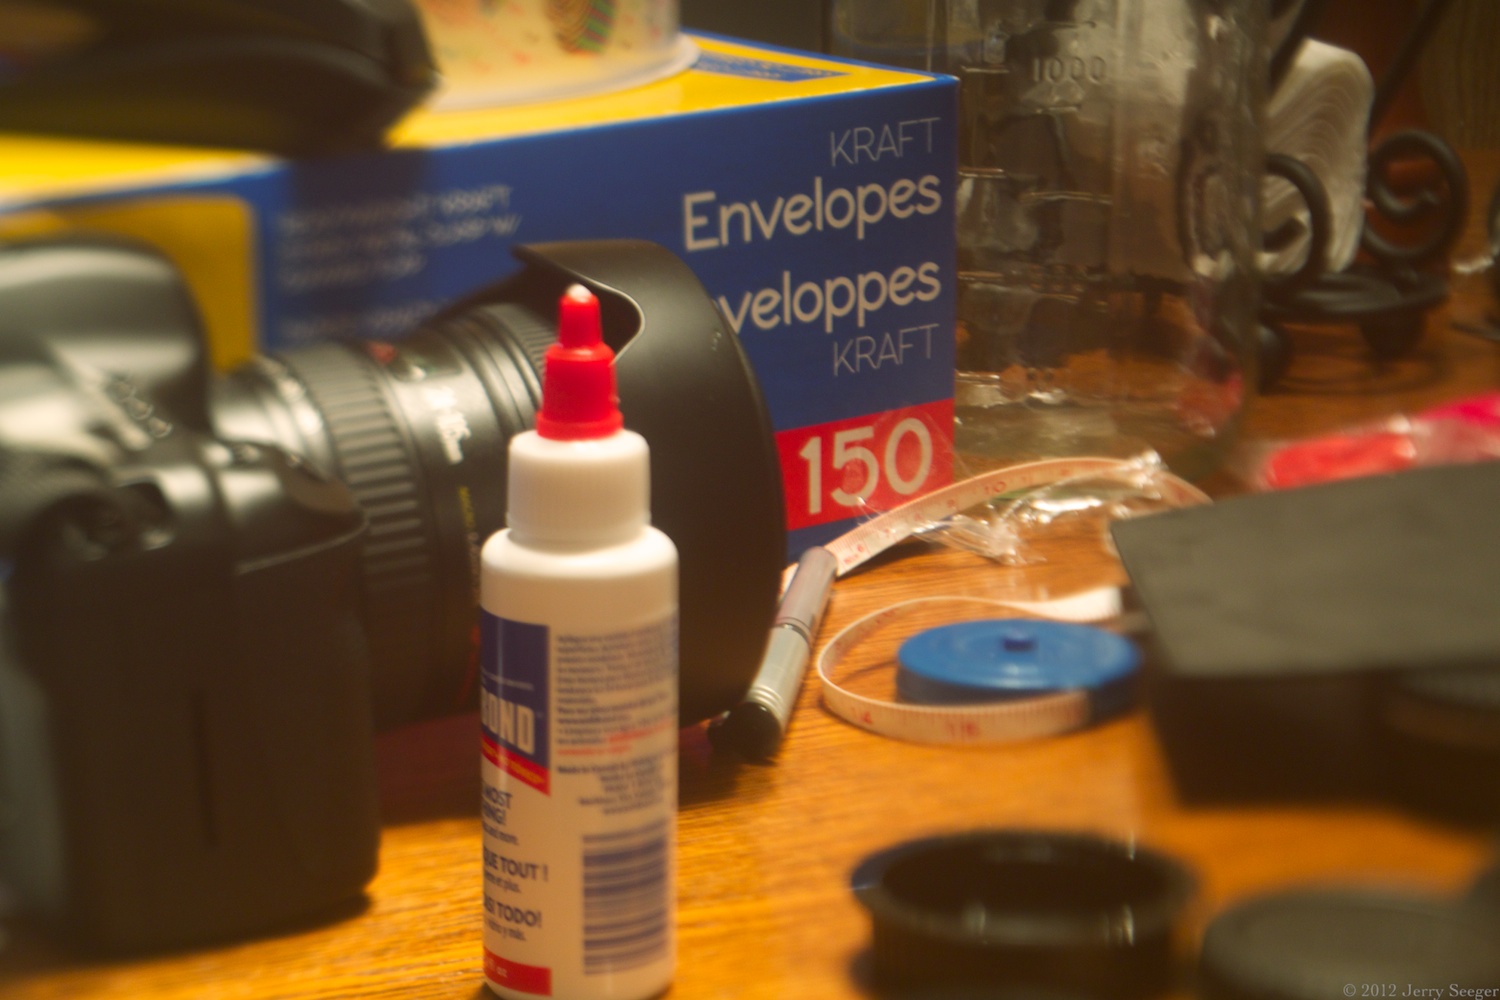
The big investment – the lens.
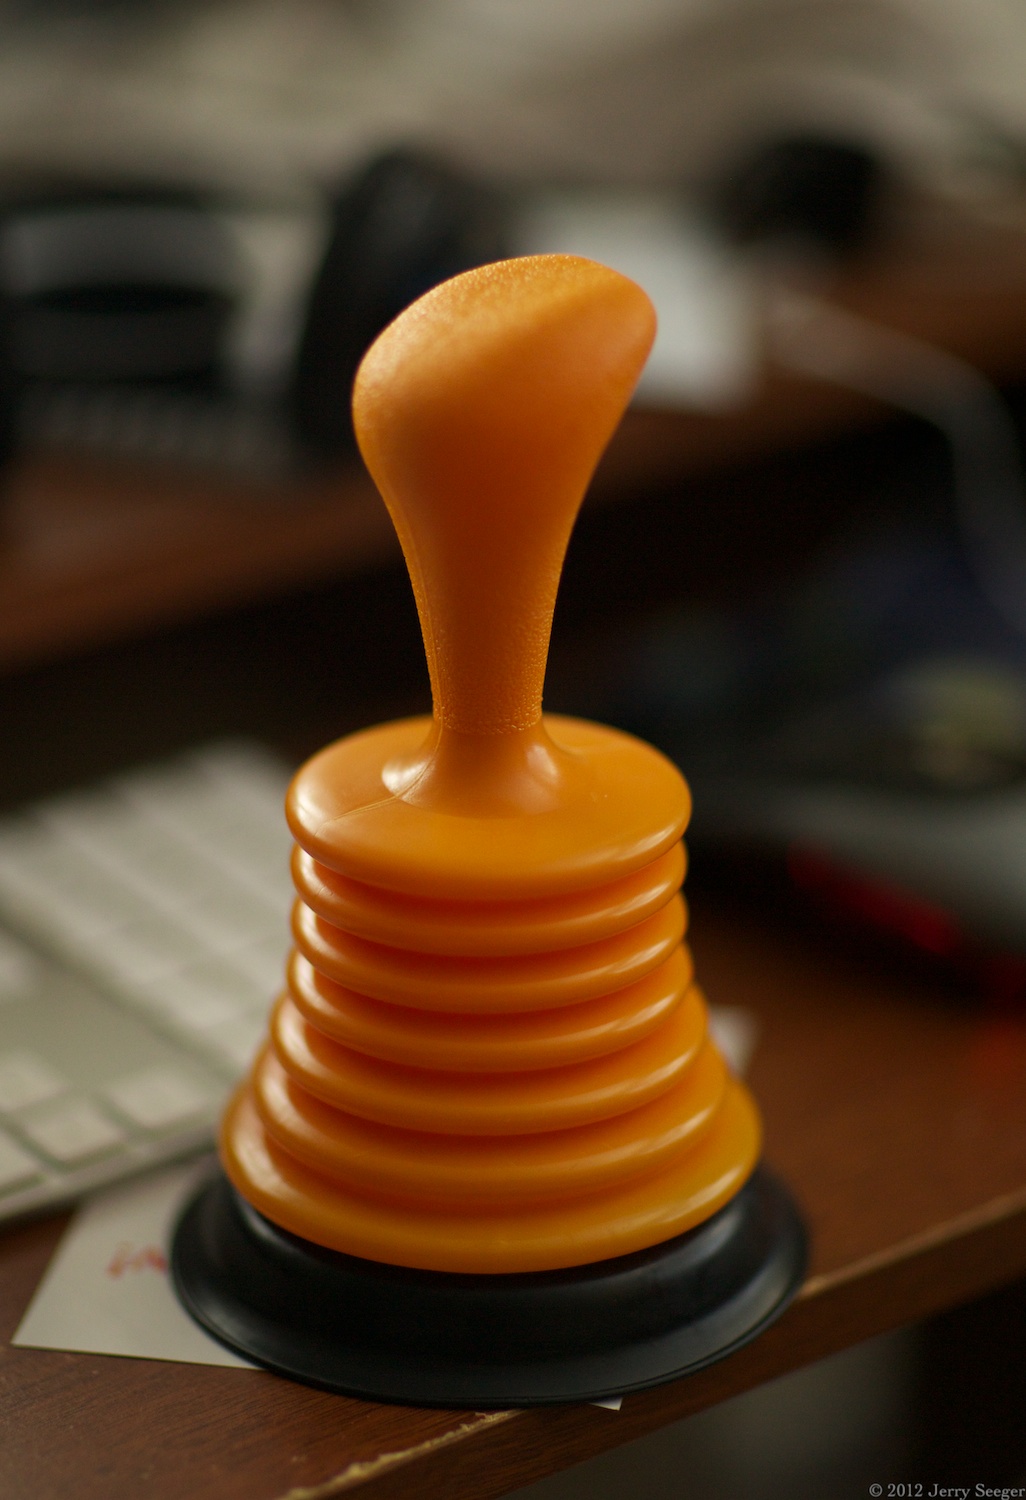
Mini-plunger with bellows construction.
The lens sat on my desk for a few weeks, but recently I decided it was time to get this puppy made. I went down to Home Depot and after a period of wandering found the plunger section. I wanted one that had a bellows style of construction, rather than the typical rubber dome. Happily I hit pay dirt (with a caveat).
I brought the plunger home and after considerable time pondering how best to attach all the pieces together, decided to stop thinking so much and just see what I could come up with. It was time for action!
I started by trimming off the part of the plunger bellows that was clearly too wide.
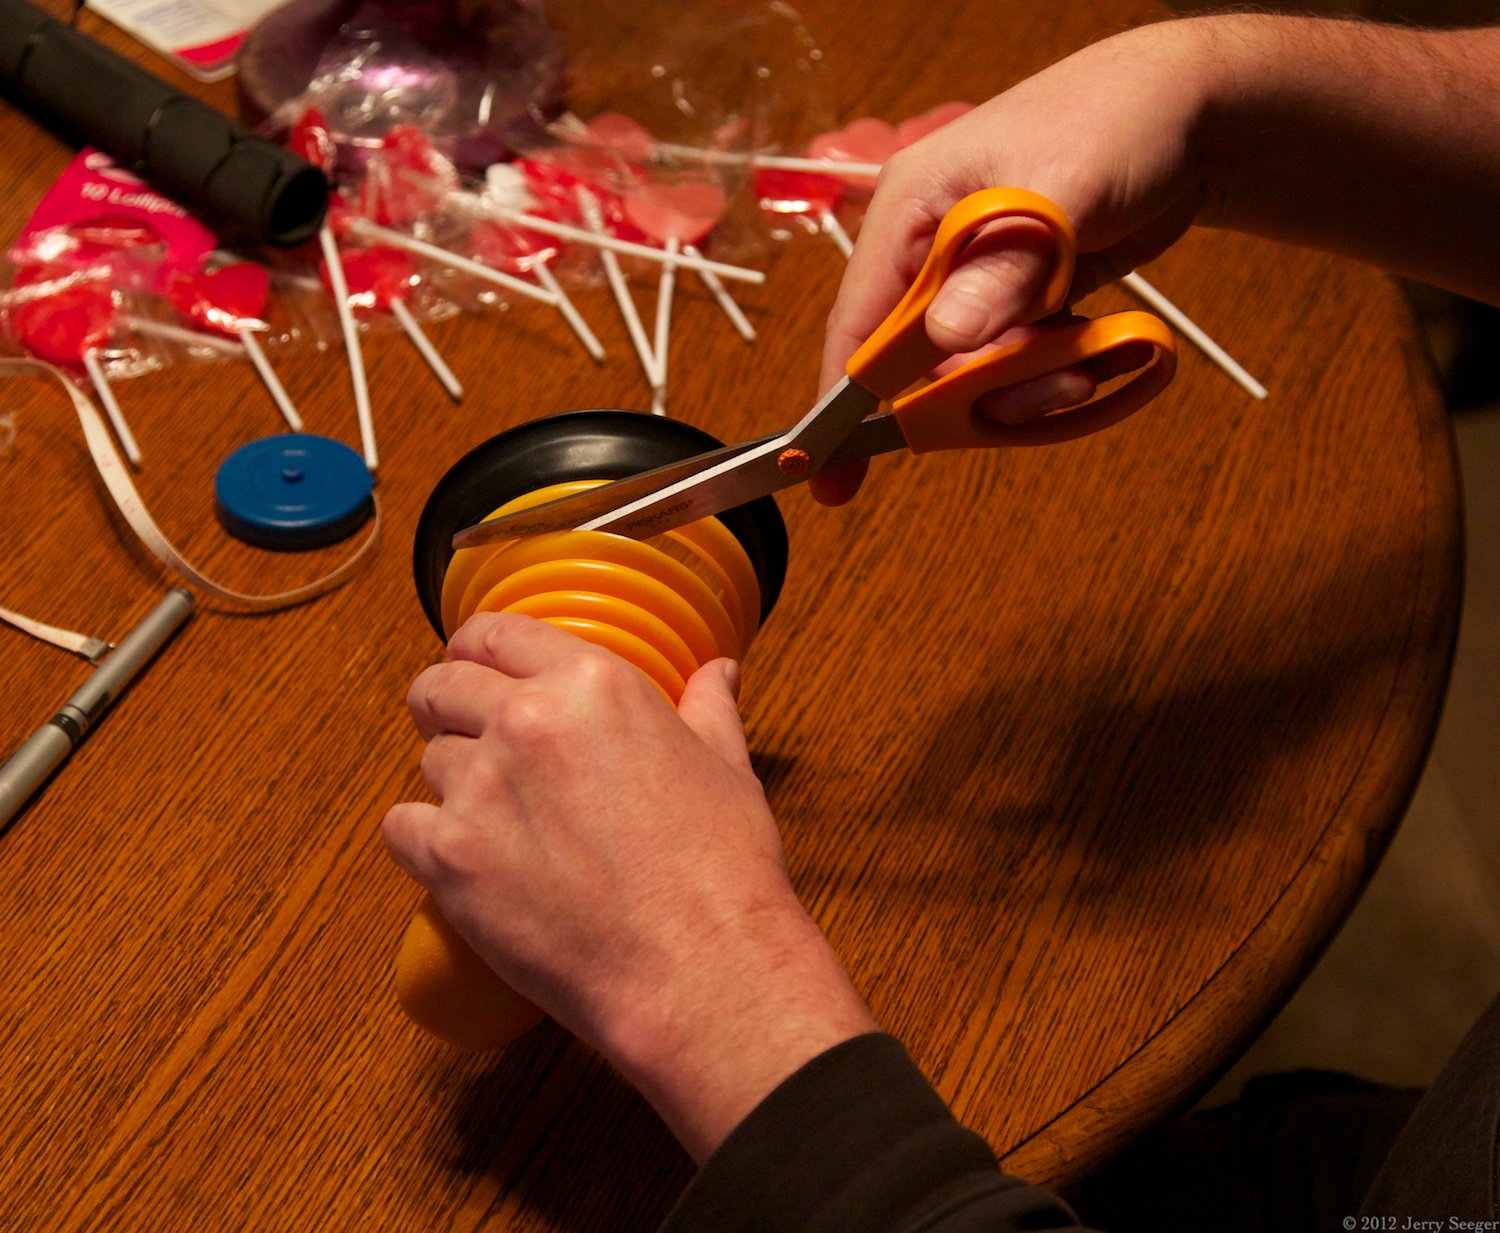
Trimming the plunger
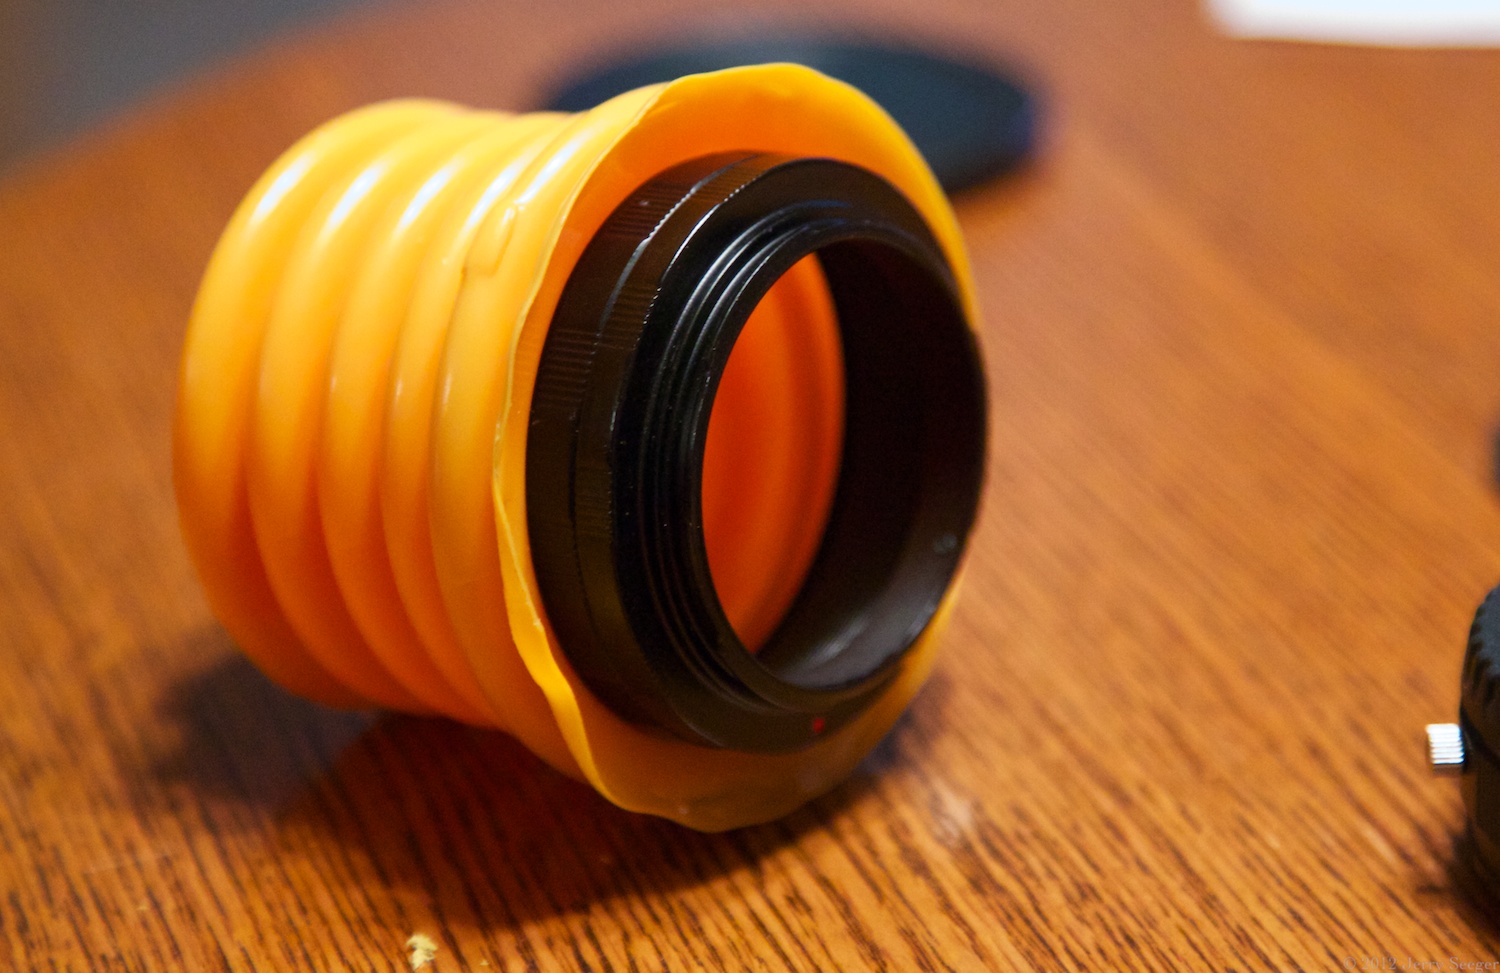
The macro tube and the bellows mated.
You can see how much light comes through the plastic.

The finished product!
Wrapping something dark around the bellows helped immensely. Here I am taking a tilt-shot with my neoprene knee brace pulled over the lens. Some orange still leaks in through the front plastic, but contrast was improved dramatically.
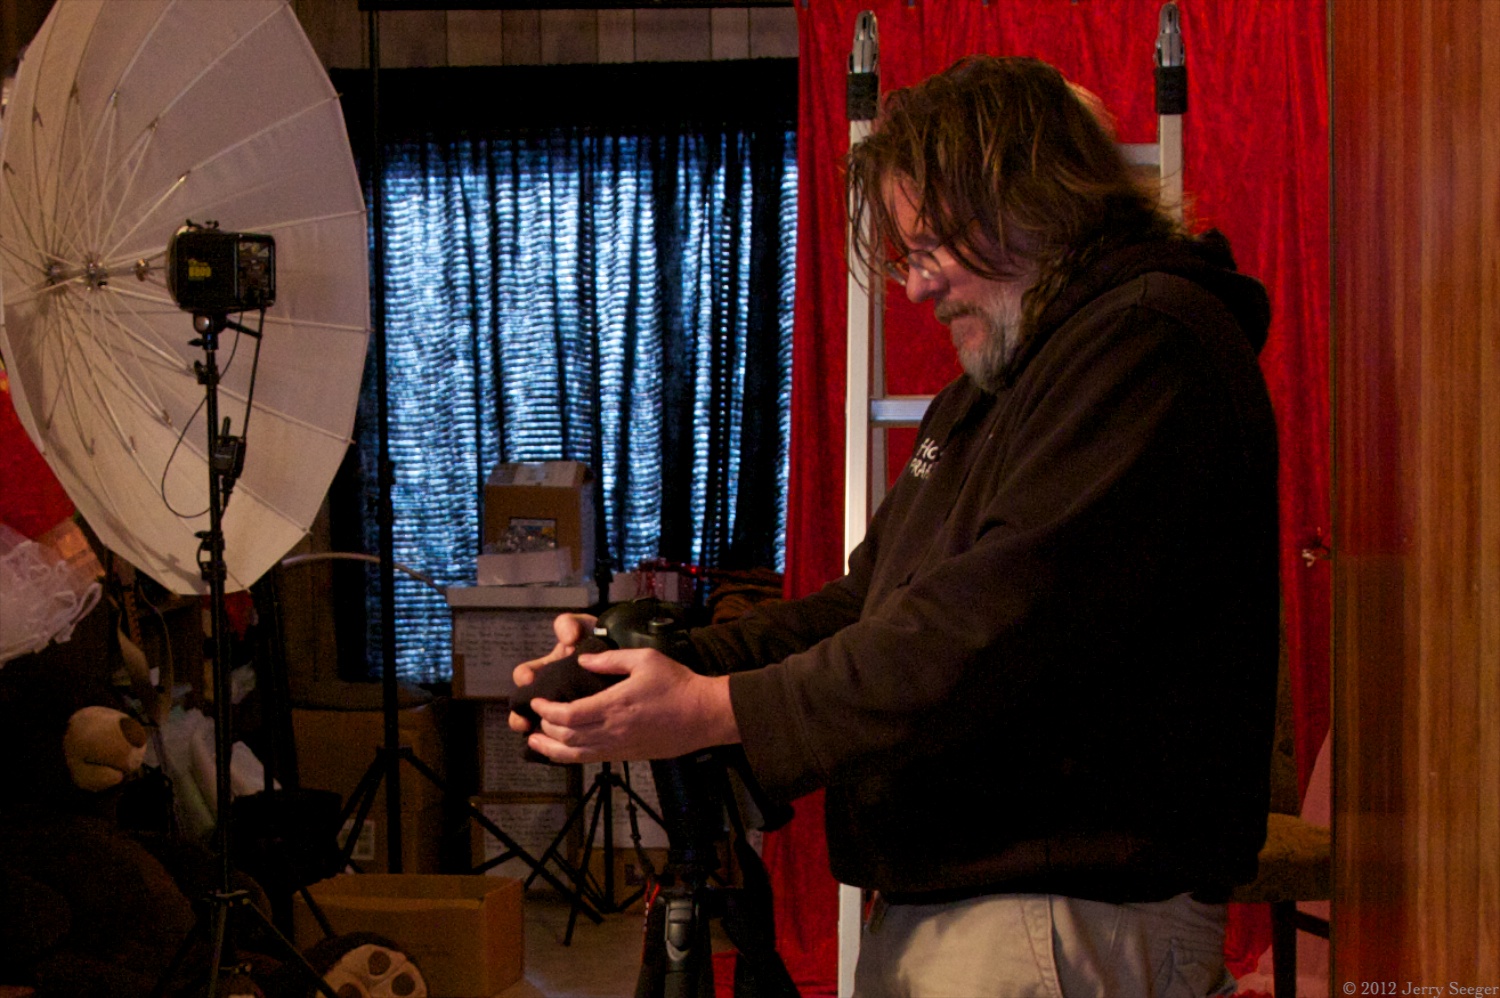
Taking a tilt-lens shot
Tilt-lens photo with skewed focal plane
To be honest, I’m not sure exactly what I’m going to do with this thing now that I have it, but the first step is to take a whole ton of practice photos, so when the time is right I’ll be ready.
The biggest disadvantage to this setup is that it takes three hands to take a picture, and since you’re holding the lens steady with your fingers, fast shutter speeds are advised. Some of the lenses in the article I linked to lock down the lens at the desired angle, which would be handy. Lensbaby’s design is structurally pretty similar to mine; they have a version with screws that hold the lens in position.
Another thing about the “anastigmat” lens I used and the offerings of Lensbaby: My little lens is optically quite a bit better than Lensbaby offerings, for better or worse. Anastigmat was a name many lens manufacturers applied when they came up with ways to reduce the spherical aberration and astigmatism of early lenses. Lensbaby, on the other hand, embraces spherical aberration with gusto. This causes the focal zone in the illustrations above to be curved and the edges to be distorted, which can also be fun, and can really pin interest on your subject. The rear elements of my Federal lens can be removed, which I think will give me some pretty major spherical aberration as well. We’ll see. Lensbaby also has a variety of other ways to introduce distortion into photographs, but I’m not going to start experimenting with that until I get the tilting business well under control.
“Anastigmat” is also your key to finding the right glass if you want to follow in my footsteps. Just type that into eBay’s search and you will find a host of old lenses, some quite cheap. (At this writing there’s a nice-looking Rival for $22 and a sort-of-slow Federal for $10.) Choose a focal length in the 90mm range and away you go! (You can use longer macro tubes if you get a longer focal length. $6 gets you a set of three different lengths that can be screwed together.) Some lenses look like they’re only the front element (just one piece of glass); you should stay away from those.
Total cost: $30. When I got down to doing it, it was pretty easy. If you like to tinker, this would make a great Saturday project that could pay dividends with interesting photos for a long time to come. Give it a try!
It was love at first sight. I saw the lens, and had to make her mine.
I’d guess that I take more than 80% of my shots with my 24-105mm zoom. It’s an incredible piece of technology, combining versatility and really impressive image quality. In second place is my beloved 85mm, a lens that totally changes the rules when it comes to lighting, that I’m only just starting to master. My fishy-fisheye isn’t getting a lot of work these days, nor is my big ol’ 100-400 zoom.
I shudder to think how much money I’ve dumped into this hobby. (I have not done the math, nor will I.)
Since buying the new camera, I’ve bought two lenses. The first I will not describe now; that is for another episode. Today we’re discussing my new 135mm portrait lens, which is in the hands of the United States Postal Service and heading my direction from Baker City, Oregon as I type this.
Of course I did my due diligence before I bought the lens. I looked to see what other lenses with similar characteristics were going for. On ebay, there was one for less that had better numbers. The auction was young, however, and I wasn’t interested in hanging out to see what it finally went for. I was already in love, and it was purely physical.
I bought the 135mm prime f/3.5. I also bought an adapter to mount it on my camera. Total cost, including shipping: $46.
Yeah, baby.
The funny thing about my new, super-expensive camera: it’s manual-focus friendly. That means, within certain limits, I can mount a host of old glass in front of the state-of-the-art sensor. Ironically, old Canon lenses are not easily adapted on new Canon bodies. But ancient Pentax? Piece of cake. My new lens is by Vivitar. Here’s the link to the ebay listing: [Alas, the link didn’t work for the general public]. (I didn’t want to post the picture here, lest it undermine the drama in the previous scene.)
I have read (though I have yet to discern), that modern Canon lenses on modern Canon bodies create a look that can be distinguished by the trained eye. Same with Nikon and Sony. Not sure I buy that (there’s software between camera and viewer), but there’s a handful of photographers out there looking to bust loose by using old glass. Brand aside, the flaws in lenses before robots made them and lasers measured them adds a certain character to a shot. I like character, but to be honest, that’s not what motivated me. $46 for a 135mm prime lens (a lens I honestly think I can use to good effect) was only part of the story (but a meaningful part). It had to be this 135. Look at the picture in the listing and you’ll understand why.
OK, the link above seems to only work for me. Here’s the lens (click to biggerize):
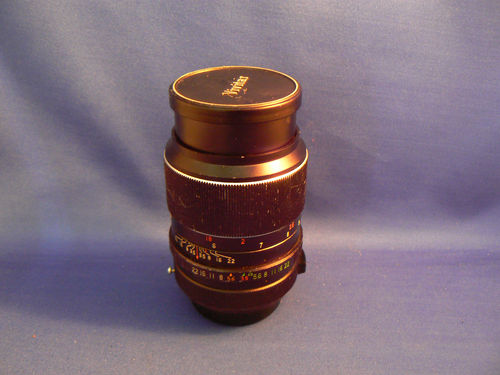
My New Lens
I was reading up on the big-ass comet (who’s name is not actually ISON) heading our direction, and the article mentioned that the discovery had been confirmed by iTelescope (among others). (REAL QUICK digression: I really like the word “precovery” — Once the discoverers said, “hey, there’s a comet there!” other astronomers were able to use data gathered before the official “discovery” to confirm the finding. Precovery.) So anyway, Since I work at the company that invented put-an-i-on-it product naming, I had no choice but to look into this iTelescope thing. I had this idea that maybe there were a million webcams all pointed at the sky, and with the combined computing power of the participants a useful image could be inferred.
Of course, I was wrong. It was early in the morning and the caffeine hadn’t reached the critical parts of my brain — the parts that would have considered the logistical nightmare my “global fly-eye” idea would entail. Maybe in a few more years…
But what I did find is entirely cool, and has the benefit of actually working. iTelescope is a cooperative that has some 20 pretty-dang-good telescopes, and for a fee you (yes, you) can use them to take pictures of the sky. (The difference between ‘telescope’ and ‘camera’ is all in the lens.) iTelescope has three facilities around the globe (New Mexico, Spain, and Australia), so it’s always night somewhere. You control the telescope over the Internet and download your results. Oh, these times we live in. (In these times, it must also be said: you retain all rights to the photos.)
How much does it cost? That depends on the telescope you choose and the phase of the moon. Prices start in the neighborhood of seventeen bucks an hour and go up from there. That seems like a lot of money, until you consider what it would cost to get these images on your own. Eleven (at least) have even been honored as APOD.
It feels odd to think of it as ‘photography’ when you’re so disconnected from the camera – heck, you’ll probably never even see the telescope you’re using. Many of the other decisions one makes in terrestrial photography are moot as well — there’s no depth of focus to deal with, for instance. Someone else has set up the camera; all you have to do is point it. Except, when you look at the gallery, you see that there are many images that combine dozens of exposures, some with different filters, sometimes with different data coming from different telescopes. Dang. Seriously, how many photographers have access to such a vast array of gear? (Answer: now, we all do.)
There is still an art to getting that spectacular deep-space image, and just as a fashion photographer has assistants to handle the details, iTelescope users have the iTelescope staff and a helpful Web robot. Good times, my friends. Good times.
It’s been rainy here lately, downright Portlandic (do you feel the ’90’s?). The other day I stepped out onto my front porch to discover the poinsettias there bejeweled with glistening drops of rainwater. In the spirit of the holiday, I thought I’d share. You don’t have to thank me, it’s what I do.


Merry Christmas, everyone!
The other day I went online to learn more about neutral-density filters for photography. The idea is that sometimes there’s too much light, and to manage the light you can crank your lens down, limiting your creativity, or you can essentially give your camera sunglasses. I came across an article by an Australian bloke (rhymes with ‘guy’) who liked to use very very dark filters (“Black Glass”, he called them), to take super-sweet photos of running streams and things like that, using exposures that lasted minutes. A side effect of the technique is colors that reach out of the picture and slap your face.
I was distracted from my original goal of looking at less extreme ND filters, and found myself looking at cameras. The leap from filter to new camera is tenuous at best, but by God I made it.
The day before I had been looking at lenses that were pretty cheap with pretty impressive performance numbers. The catch: they were manual focus. My camera doesn’t have the parts that older cameras have to help a photographer tweak the focus. Auto-focus is so good these days that the extra cost of adding a split prism or whatever just won’t resonate with the typical purchaser.
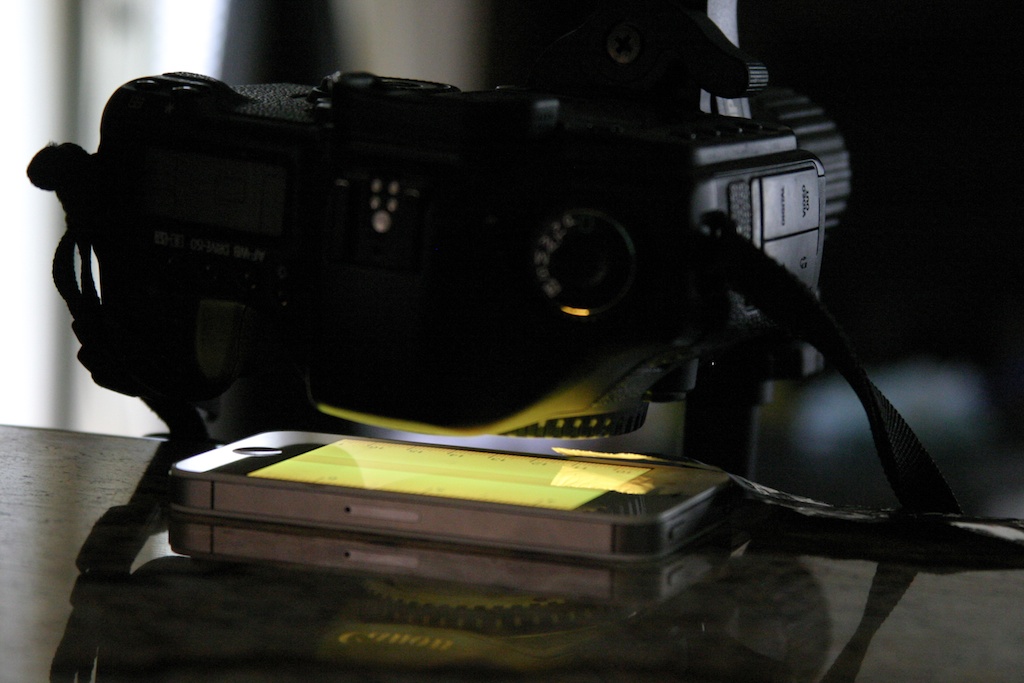
But there’s another way to get good focus with old-fashioned lenses or practically opaque optics. Live View. Crappy little digicams have had live view for a while now, but for reasons I won’t belabor here, high-end SLRs have only recently gained this power. What it means is this: you can see the picture you’re about to take on the screen on the back of the camera. You can zoom in on the image, choose your favorite eyelash, and adjust the focus until it’s perfect.
My camera, snazzy though it is, doesn’t have Live View. For almost the same reasons, it doesn’t shoot video.
So I started pining for Live View. I have a lens that can really benefit from manual focus, and I plan to substitute pinholes for black glass. The Want took root in my soul.
Flashback: Several years ago, during year zero of the Muddled Age, I was sleeping on my cousin’s sofa in Bozeman, Montana. Let me tell you, there are things to photograph up there. I borrowed his gear for a visit to Yellowstone, got exciting results, and Cousin John set me up with my own rig while I basked in the euphoria of good beer and a few nice photos.
John is a Canon man, and he likes his toys. He filled up a shopping cart at B&H, I said “go”, and shortly thereafter I had a DSLR and three lenses. It’s worth noting that although he likes the high-end stuff, the camera he chose was entry level (though I couldn’t even tell that at the time). The main investment was in the glass, and those lenses have determined my course ever since.
I told anyone who would listen that the Canon 10D was more camera than I would ever need. Perhaps the Gods chortled. The 10D was all the camera I needed for many years, but through a series of events that could not be anticipated but must be appreciated, I began taking a lot of pictures, and I started to feel limited by my camera. No one was more surprised than I was, and no one was more pleased.
My upgrade was a big jump: 10D to a used 5D I bought off a coworker. Canon’s wacky numbering system goes 10-20-30-40-50-7-6-5-1. I think there’s a 60, too. Not all those numbers are available anymore. Anyway, I went 10D to 5D and it was a huge jump, and, gratifyingly, my pictures improved. I wasn’t just buying gear for the bragging rights.
Back to now: Honestly, I’m not feeling that limited by the 5D. It can take a pretty picture or two. But the 5D mark II has way more pixels, and Live View, and video. The person who sold me her 5D had just bought a Mark II. Now there’s the Mark III, out last spring to great excitement. It is a ridiculously awesome piece of consumer electronics. The biggest improvement over the Mark II: it’s much better in low light.
I started following Mark II’s on ebay. They are still manufactured, largely because people who have studio lights don’t need mark III’s most compelling feature. I have lights. I’m getting better at using them. Mark II is enough. Mark II is enough. Mark II is enough.
But you know what? I shoot other places than the studio. Sometimes I don’t control conditions and I have to adapt. A more versatile camera gives me more options. I spent ridiculous hours doing ‘research’, weighing the 5D Mark II, the 5D Mark III, and the brand-new 6D, which has some intriguing features. This research happened over the course of several nights after the light of my life had gone to bed, and resulted in what must have seemed a fiat to her: we need a Mark III. (Yes, “we”.) I haven’t hit the ceiling on the camera I have, and I was calling for a new one. A really expensive new one. I tried to play it cool, but inside I was a knot of commercial lust.
A funny thing happens when I relate this story to the folks around me: “At least you actually take pictures,” is the almost universal response. That I do, that I do. But I still feel something of the poseur when I indulge myself this way. I get good shots with the 5D I already own. It is for my own pride that I feel I have to develop my abilities to warrant carrying a prestige item like the Mark III. I can’t feel proud of owning it, that’s just a matter of spending money. That sucker’s in the mail now, and I better do something to justify holding it.
Also, I check the shipping status roughly every fifteen minutes. I’m giddier than a schoolgirl on free pony night.
There’s not much of today left, but if you get a chance pop over to Java’s Bachelor Pad and check out Harlean Carpenter (who is a fiction), the Christmas Cutie for December 5. The photo was taken by yours truly. We weren’t expecting to be honored over there this year, but Christmas came a little bit early. Hooray!
My favorite camera lens is a marvel of technology, an almost perfect example of science serving art. But lately my imagination has been captured by the other end of the lens spectrum: the pinhole.
The idea took root when I saw some russian plastic pinhole lens go on ebay for actual money. The sales pitch was, “recreate the look of this crappy old camera with your modern DSLR!” I agreed that would be a fun thing to do. We put distortion into electric guitar pickups and we dig lo-fi pictures.
But that’s selling the pinhole short. Last night I experimented with the lenses in my stable, determining the smallest details I could hope to resolve. I don’t have a true macro lens, but here’s the thing. A really good macro lens (hundreds or even thousands of dollars) will give you the ability to project images onto your film or digital sensor at a 1:1 ratio – if the thing you’re photographing is 1cm, it will be 1cm on your sensor. With a modern camera, that translates to a whole bunch of pixels.
But wait! With a pinhole, at the cost of maybe two dollars (10 bucks for better image quality) you can get a magnification five times that. Obviously not with the same fidelity, but seriously, five times the magnification means that you can still resolve some amazing details in your subject.
I think a pinhole would also be a better lens for observing the sun than any I currently have in my arsenal.
All that on top of cool vintage-looking shots in the “normal” range. Your subject has to be able to hold still for a while; the pinhole allows much less light through than a typical glass lens. You could argue that the primary function of the glass in lenses is to allow you to have a much bigger pinhole and still be able to focus.
And here’s a fun fact: All those numbers that we use when talking about a lens are actually based on pinholes. When we say a lens has a 50mm focal length, what we mean is that it acts like a pinhole 50mm from the film. The other numbers are similarly derived.
For a given focal length, there is an ideal pinhole size. (OK, that’s not exactly true, but there is an ideal pinhole size to optimize the shot for different preferences.) The goal is to have the light that comes from a specific point on the subject strike a particular point on the sensor. As you can probably imagine, the smaller the pinhole, the smaller the dot of light on the sensor from any given spot on the subject. (This dot is called, rather poetically, the “circle of confusion”.)
So the smaller the better, right?
Not so fast, Sparky! Just when you least expect it, light starts behaving like a wave, and the smaller the pinhole, the more pronounced that effect becomes, until diffraction causes the light from that single point outside the lens to turn into a bright central dot surrounded by fainter rings. The trick then is to minimize the distortion caused by both a too-big and a too-small pinhole, and find the happy balance. Others, happily, have done the math, though they don’t all agree.
I have a plan. I’m going to create two pinholes of different sizes, and mount them on the kind of cap you put on your camera body when you don’t have a lens on it. The caps are already made to attach the same way the manufacturers lenses do. I also intend to make an extension tube that mates with the camera at one end and with a lens cap at the other (using the cap that goes on the back of lenses for storage), and have myself a macro/zoom pinhole. The little pinhole can either go directly on the camera for a 46mm focal length, while the larger pinhole one goes on the end of the tube for telephoto. With the small pinhole on the extension tube, you’re ready for serious macro photography.
I’m fascinated now by the question, “what can a really well-engineered pinhole accomplish?” Besides just getting the size of the hole right, there are the challenges of getting the hole nice and round (irregularities will play hell with diffraction) and shallow. If the hole is too deep (drilled through too thick of material) the corners of the picture are cut off. The camera will quite literally have tunnel vision.
I intend to spend some hours in Father-of-Sweetie’s workshop, experimenting with drilling holes in metal. (I priced out copper sheet and then realized that drilling holes in money (pennies) would be much cheaper.) The first thing to discover is whether it’s merely difficult or completely friggin impossible to get a drill to stop when its tip is 0.09mm through the metal (for the smaller hole, assuming the standard 118º point angle of the drill’s tip), and if the resulting hole is round enough. If not, then micro drills are going to be required.
While I don’t mind spending a great deal of time building the thing, I’d like to come up with a process that can be repeated fairly easily. Because if people are willing to pay for a little plastic piece of poo, there might be a group of hobbyists interested in the Ridiculously Over-Engineered Pinhole System. If I can drill the holes efficiently, it might make a nice little cottage industry.
Bonus!
In between the time of writing and the time of posting, there was a time of doing! Here are some results with Quick and Dirty Pinhole 2 (pinhole 1 didn’t pass quality checks):
A few notes:
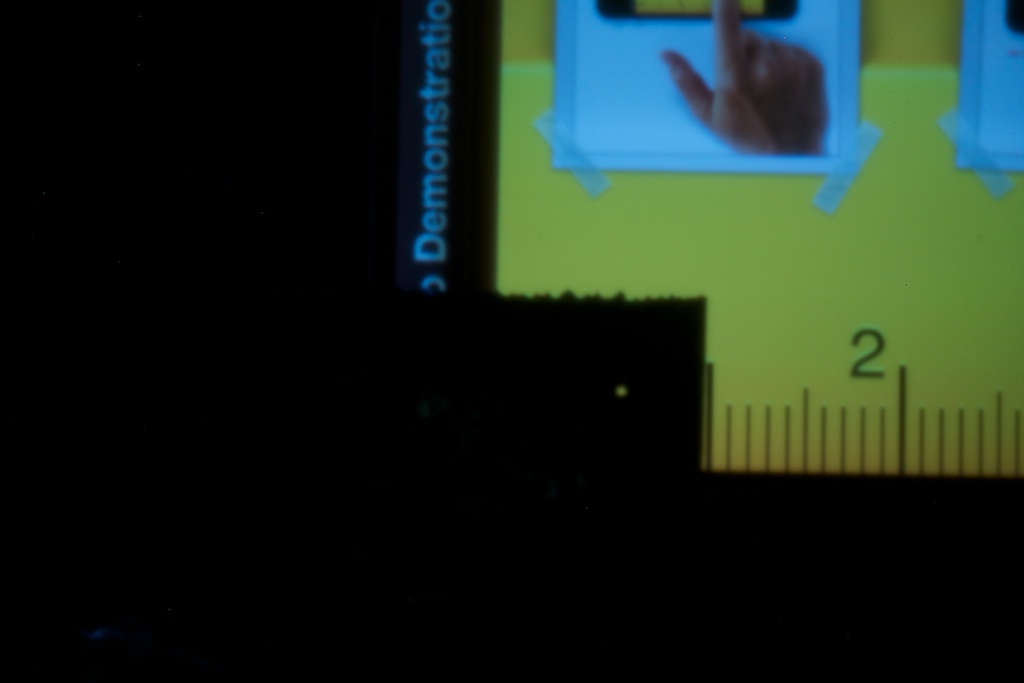
What I set out to do this morning was discover if I had any way to measure the size of the pinholes, and to see if they were actually round. I don’t have a fancy loupe, and the ones that can measure down to things that tiny are quite expensive. I do have a camera, however, and I figured if I could get close enough I could use an image to measure the size and shape of the pinhole.
I made a couple of pinholes in tinfoil. I used my fisheye lens to get down as close as I could to the pinholes (laid on top of a ruler app on my phone) and was able to roughly estimate their size. The first was definitely too big, the second seemed only a little bit too big. So I drilled a hole in a Canon body cap and taped in Quick and Dirty Pinhole 2.
Most of the exposures you see here are thirty seconds, at pretty high ISO to boot. the f-number for QDPH-2 is something like 48mm/0.3mm ≈ f/150. Remember how giddy I was to get a lens that went to f/1.2? Yeah, this is the opposite of that. Such is the way of the pinhole. The side effect of that is that just about everything in the universe will be in focus, including things that are really really close.
Yep, the best tool I have for measuring pinholes is… a pinhole, and the marks on the measuring stick are the pixels of the retina display itself (12.8/mm). I am stoked.
In the last macro shot of QDPH-1, you see some ghosting. I’m pretty sure that was caused by light bouncing back and forth between the two pieces of aluminum foil. In shots of the display only, there is no ghosting.
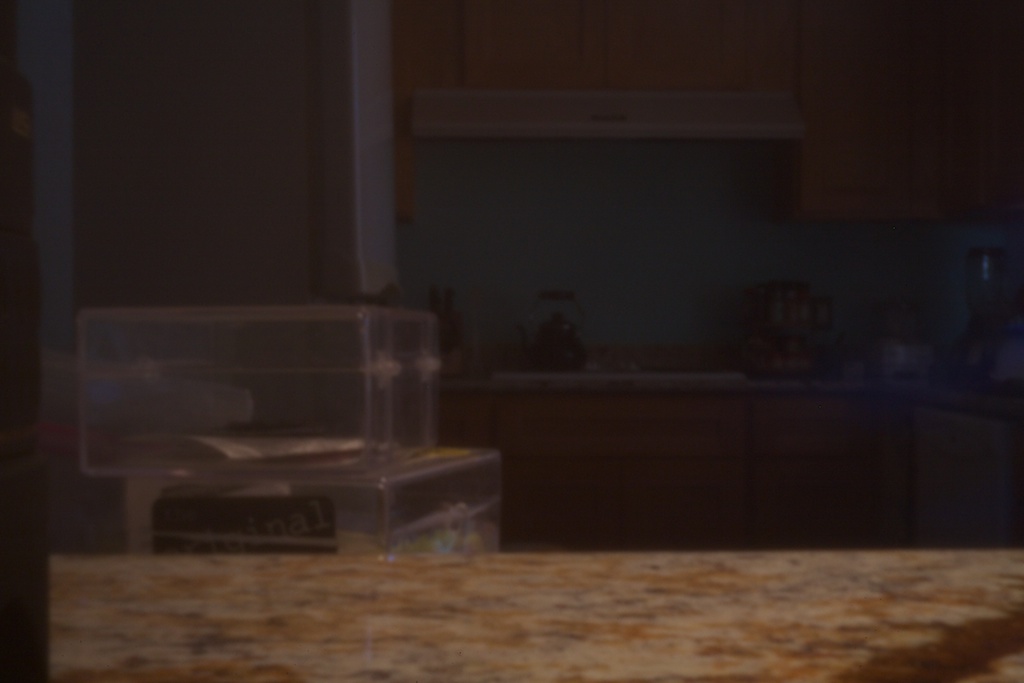
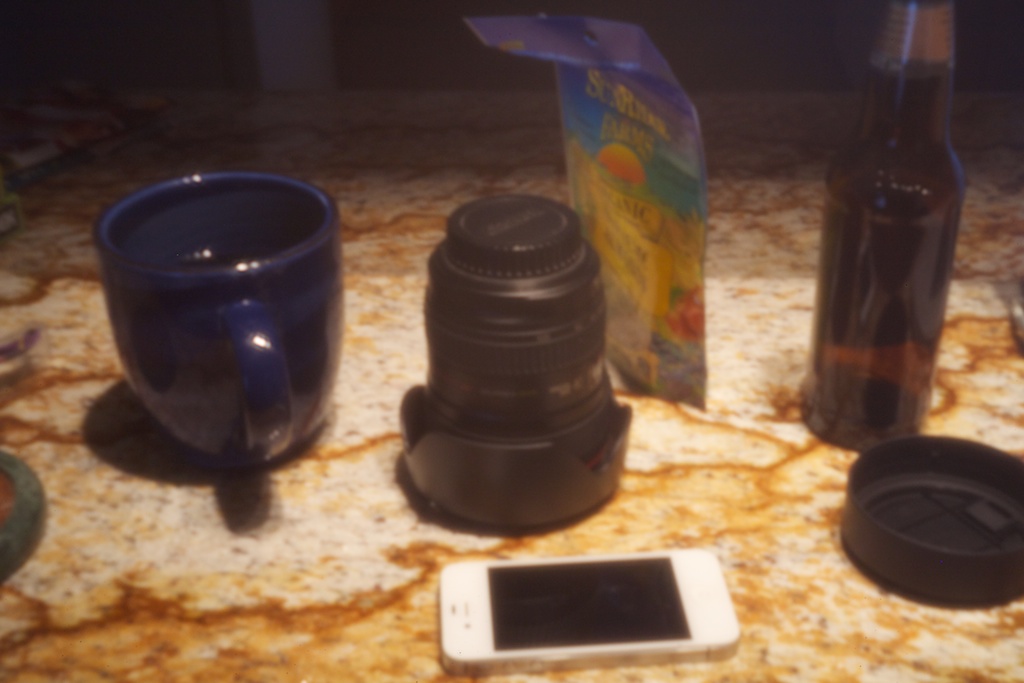
But, my sweetie asked this morning, what’s the point of all this? My answer: It’s fun, and also I think we can get some great vintage-feeling shots. As you can see in the still life, the focus is pretty soft – not appropriate for all the hard-edged items in the shot. I’ll be taking some self-portraits later to see how that goes.
The rebuilding of the kitchen is mostly done. Most of the appliances are back in position, if not yet functional. The countertops, which we pitched in extra cash to upgrade, look fantastic. With much of the kitchen back in the kitchen, we had enough space in the living room to do a little Christmas shoot in front of the fireplace. Good times!
Someday, we’ll have the studio unburied. But the fireplace made a nice little set, complete with a mirror to cause trouble:

A quick self-portrait while shooting Harlean Carpenter (who is a fiction).
It’s not Christmas without bubbly, so we got a bottle of cheap stuff and as the talent arrived on set I poured a glass and set it on the bar. I realized it was the first beverage on the new bar! Hooray! After the shoot I turned the camera the other way and tried a few snaps. Here’s one of the better ones (of course, you can click the image to biggerize it):

Only fitting it should be bubbly, considering what we went through.
A couple of technical notes: This shot gave me a chance to play with the aperture and decide just how blurry I wanted the background to be. In some images you can make out the bottle in the background fairly clearly, in others it’s just a hint of something green. I was using the “Av” setting on my camera, which allows the photographer to choose the aperture then the camera figures out the rest. However, this time I finally had to go to full manual to get the exposure the way I wanted it. Not counting shooting with strobes, I’m pretty sure that’s a first for me.
There was another shot with a better exposure that showed off the countertops better as well, but it really showed the smudges on the glass from being handled for an hour or more. It’s the details, man. They get you.
The other first today was the aforementioned fire in the fireplace. It only occurred to me to commit the event to the collective digital memory after the “log” had burned down to where only a wisp or two of flame were clinging to the charred remains. My plan was to try a whole range of exposure times to compare the effects, but after my third frame the flame went out completely. Here’s the first shot I took, with a five-second exposure:

After years with no fireplace, it was nice to light up today.
I was working this afternoon, but I really wanted to play with my toys. So, after I got something done to make my day feel productive, I pulled out the camera, and fashioned myself a snoot.
In photography, a snoot is an attachment you put on the front of your light so that all that comes out is a really narrow beam. With a snoot you can put a splash of light exactly where you want it, and be confident that it won’t spill somewhere else.
Funny thing about cone-shaped pieces of black plastic, they’re kind of pricey. So today I set about making one of my own. I’ve done it before, but this time I wanted my snoot to be a keeper (although after the fact I’m already designing version 2).
I also thought it would be fun to play with color a bit. I went for green, and my goal was to get an interesting green rim light. So I put a green gel in another light. The downside of my homemade snoot is that it doesn’t work with my gel-holder thingie. I think in the end the color should have been in the snooted light. Never got the green highlights I wanted, but that’s OK. It gives me something to shoot for next time.
Once I got one light all snooted up (with a narrow grid attached as well to increase directionality) and the other gelled for color, I cast about for a suitable subject. I tried a pair of steampunk goggles (looking for cool reflections), a pewter mug, and a fake skull (ideal for rim light, I thought), but none of them worked out so well. Then I found this trinket (click to biggerize the photos):
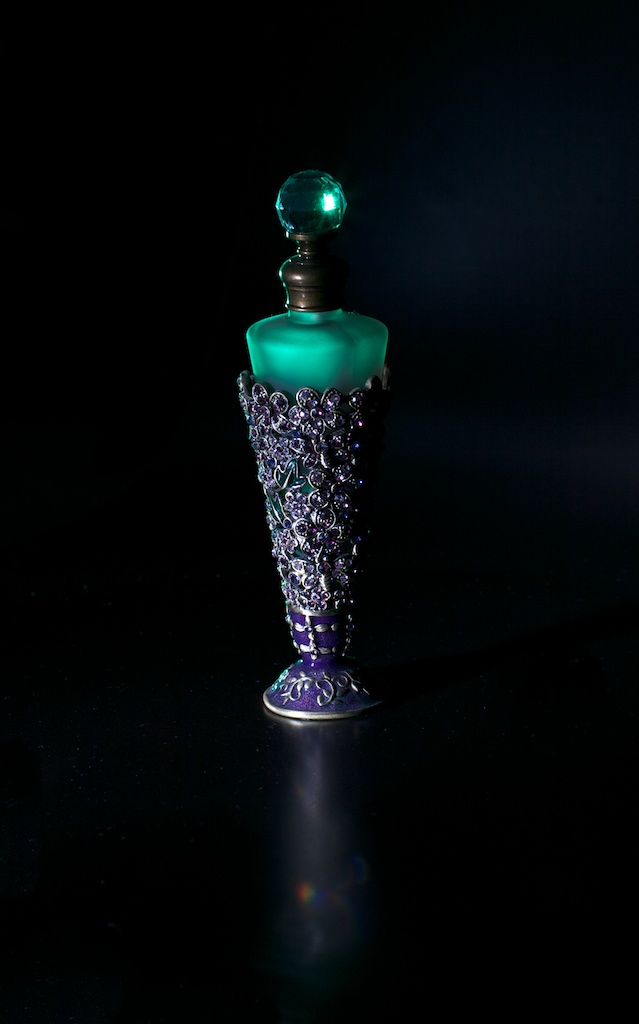
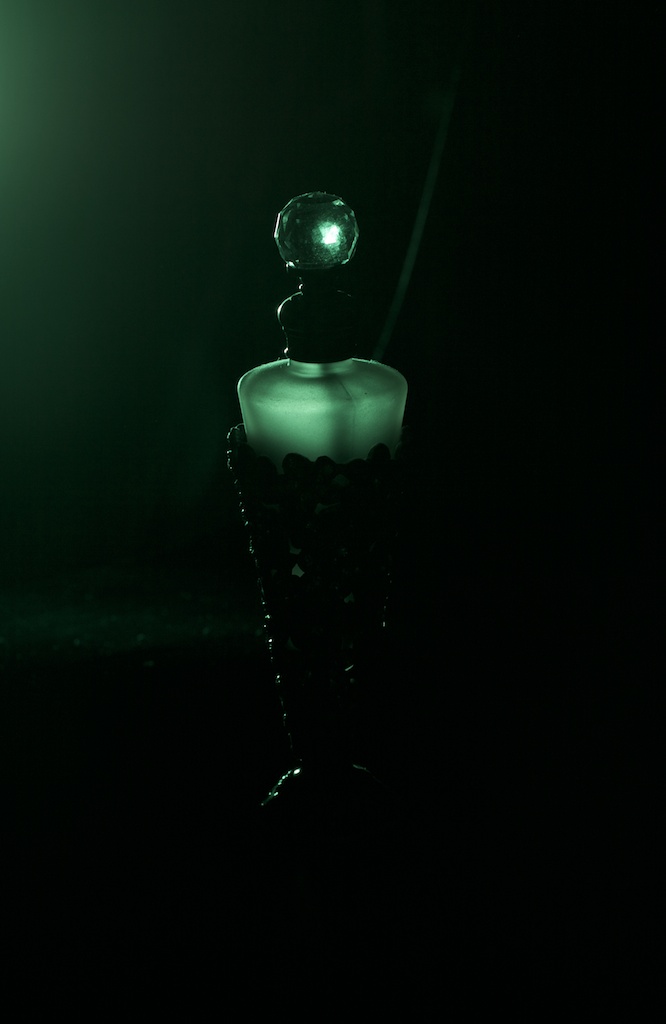
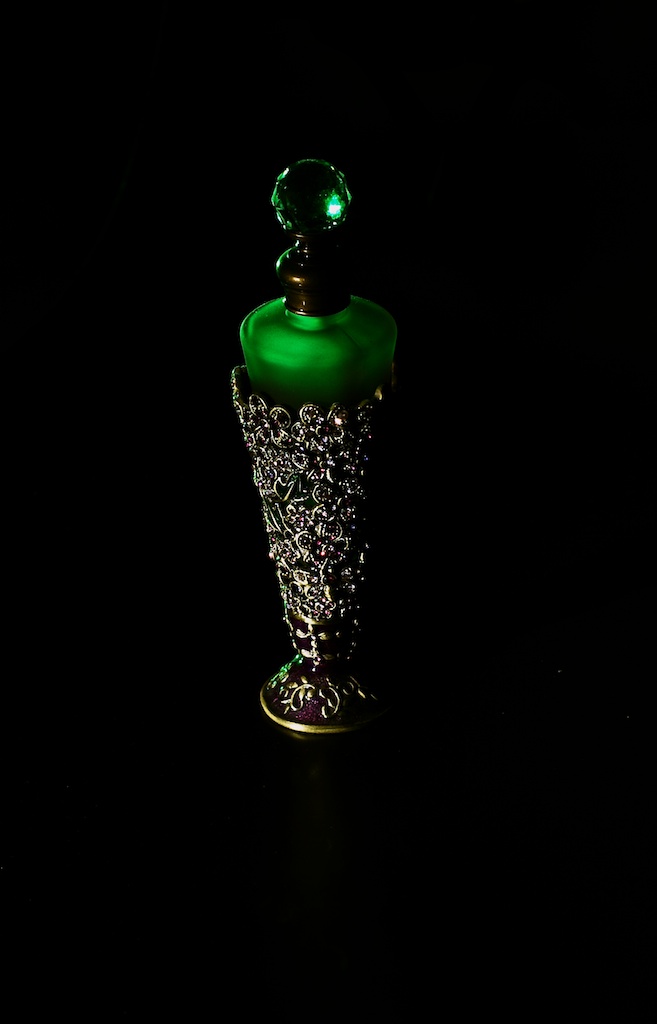
Now, in the interest of science, I possibly should have posted untouched photos so you could see how the lights worked out. But I didn’t. Instead I fiddled with the pictures to enhance what the lights gave me, and to get three different feels for the same object.
The cool part is the way the green light lit up the glass. (The actual glass is not at all green.) It worked best when the green light was straight behind the object, of course, but my favorite lens is a sucker for lens flare, so I had to be creative in my positioning and use of a gobo. You can see the green-haze effect in the second pic in the series.
In the end, though, I’m pretty happy with the results, and maybe I’m even a slightly better photographer now. Practice, practice practice, after all.
There’s a bunch of fun stuff going on in the Pinup Realm to tell you about, but let’s start with this one: Maskera! Maskera is a superhero who never runs.

The backstory for the project (rather than for the hero herself) is that I shot a series of pictures of Harlean Carpenter (who is a fiction) on a green screen. They came out pretty well, so Harlean then worked her contacts to find a cartoonist to draw some villains and whatnot to match her action poses. Those turned out to be completely awesome.
“I can’t wait to see it in print!” the artist said. Until that moment Miss Carpenter the Fiction had not considered print. But what the heck? We know an awesome printer, and it would be a hoot to make an actual comic book. I will be writing the story, but honestly it’s more about the great poses of Harlean and the whimsical-yet-menacing bad guys of Michael O’Connor. Oh, no! It’s Angry Meteor!
We’re doing this thing through Kickstarter. For those unfamiliar, it’s a system that allows people to pledge support for a project, but only if the project actually happens. So you say, “Hell, yeah! I want a comic! And a poster!” and then if and only if the project meets its goals will you be charged. This means we can make sure we reach a certain threshold before getting a bunch of stuff printed, and it means you kids out there in cyberland can make sure you get your money’s worth.
So hop on over and take a look! It’s sure to be a hoot!