There’s a big ho-down comin’ at work, and my boss was asked to come up with a list of pending accomplishments for her team, accompanied by pictures. So, I needed a picture of me writing, to accompany the announcement that I will soon be finishing Munchies, my long-anticipated novel. Anticipated by me, anyway.
Now, all that was required was a simple picture of me at the computer. But in my head this portrait quickly grew to include dramatic lighting that somehow gave a Munchies-like feel to the picture. That meant color gels, splashes on the walls, and dramatic light on the face, preferably from the glow of the screen.
It was also fun being the talent for once, while my sweetie gave direction from behind the camera.
In the end three of the lighting setups were moderately successful; I have picked out representatives from each of those to show below. The pictures are unaltered except for some cropping; color and exposure are straight off the camera.
For all these setups there’s a tight-beam green-gelled strobe is directly behind my head. In the first two another strobe is splashing light against the wall behind me. I’m thinking it would have been cool to make it a strong primary color, just so see how it looked, but I didn’t do that.
The second and third pictures have only the computer’s LCD screen lighting my face. This required very long shutter times to capture enough light. (The light from the strobes is a fixed quantity no matter how long the shutter is open, so you use exposure time to adjust the mix between flash and ambient light.) Quite a few almost-awesome shots were lost because I wasn’t holding still enough.
Anyway, here are some samples from the shoot. As always, you can click to biggerize them. All the shots were taken with my 85mm lens at very wide apertures to keep exposure times from getting totally ridiculous.

Two strobes and overhead halogens
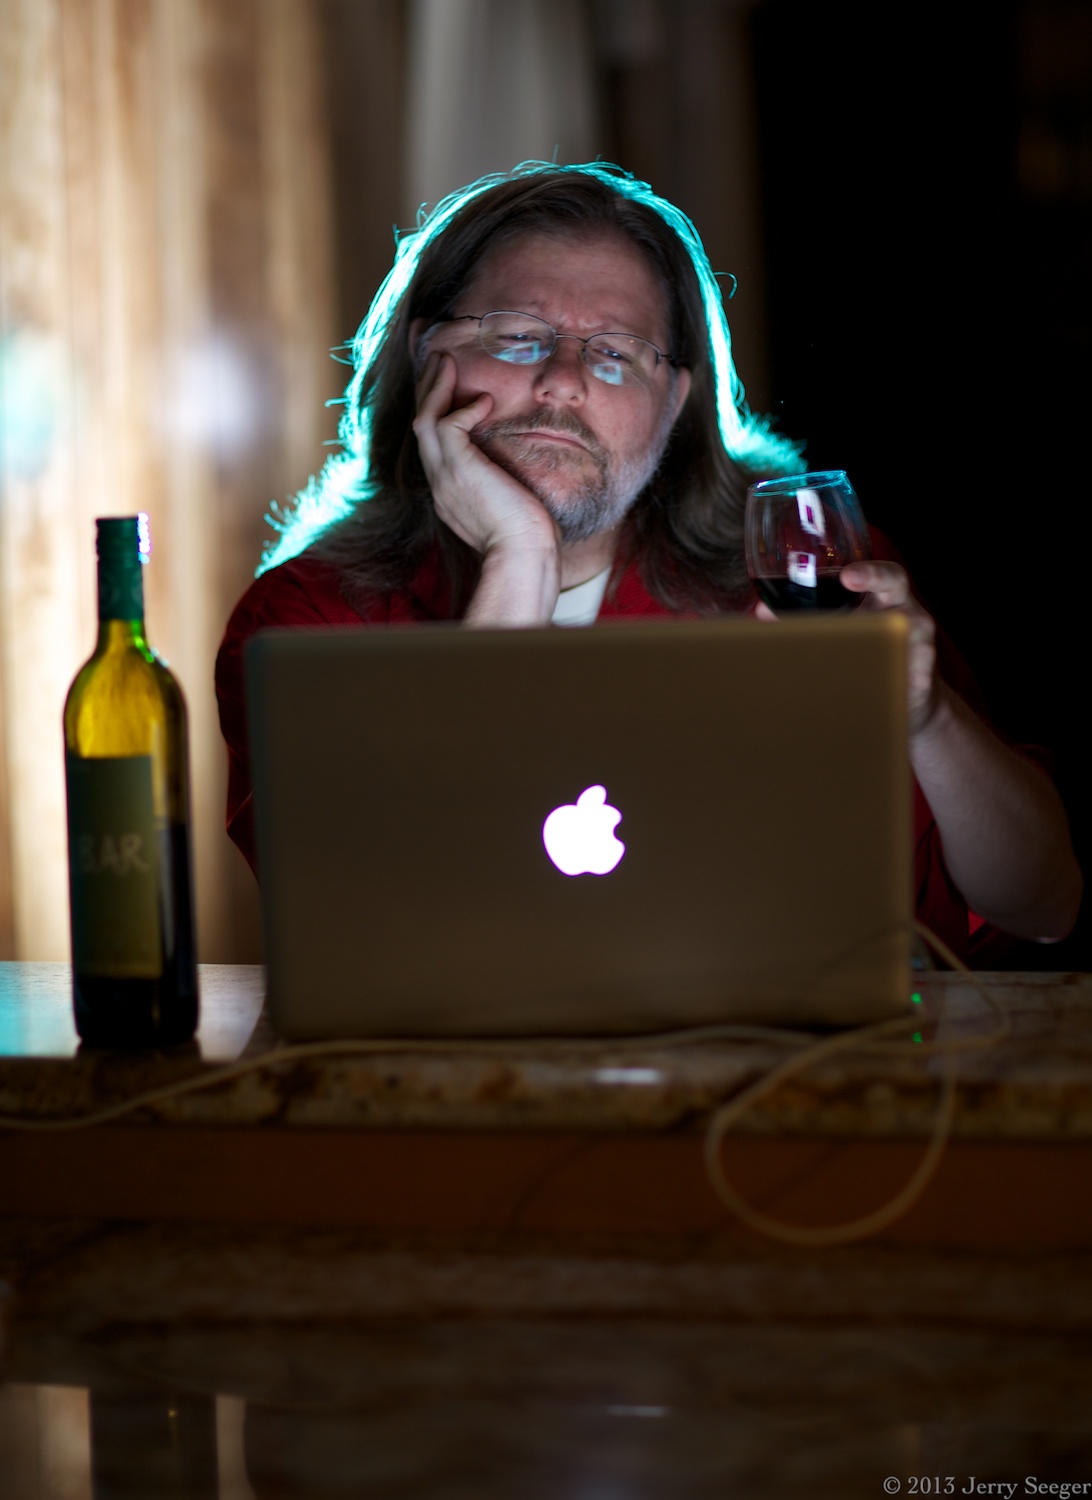
Two strobes and screen light

One strobe and screen light
Not appearing in this list are shots where the green light was behind to my left, where it shone on my face a bit. An interesting effect, but it didn’t really work out this time.

